This post may contain affiliate links. As an Amazon Associate, We earn from qualifying purchases if you buy through our links at no extra cost to you. Please read our full disclosure here.
Okay, be honest with me. When’s the last time your pumpkin actually looked good sitting on the porch?
If your answer is “triangle eyes, jagged mouth, done” for the fifth Halloween in a row, I need you to keep reading for a minute.
Pumpkin carving has quietly gotten a lot more interesting than it used to be.
We’re past the point where the classic jack-o-lantern face is the only option, and once you see what people are doing with a decent knife and a little patience, it’s hard to go back to the basic version.
Some of these designs are simple enough to knock out in twenty minutes with a kid sitting next to you.
Others take a little more time and honestly look like something you’d pay for at a fall market. Either way, there’s something here worth trying.
Pumpkin Carving Ideas Worth Trying This Year
1. Moon Phase Pumpkin
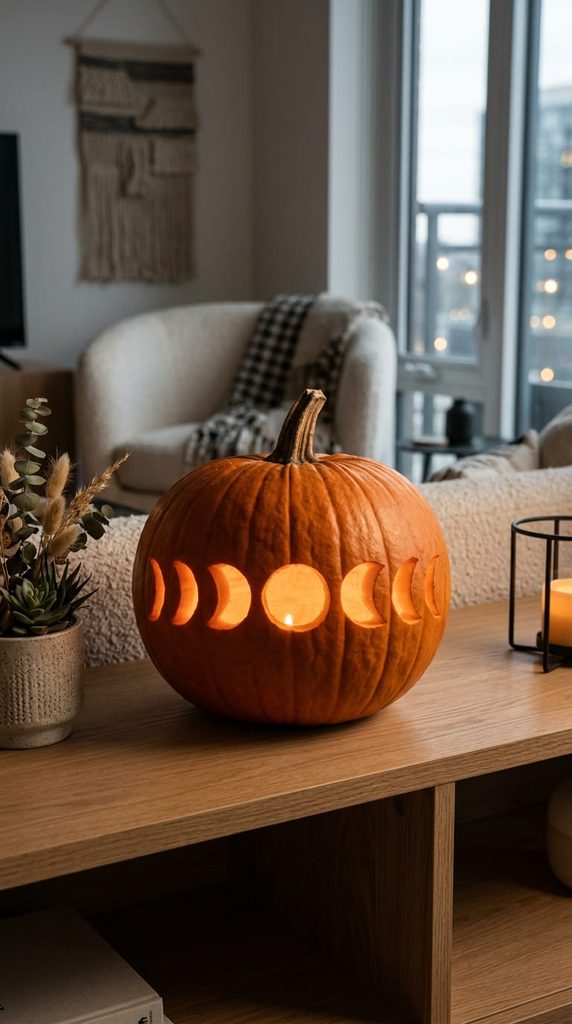
This one looks a lot harder than it actually is, which is exactly why I love it.
You’re just carving a row of moons across the front, starting with a thin sliver of a crescent and ending in a full moon on the other side.
Works best on a pumpkin that’s a bit more oval than round, so the moons have space to breathe.
2. Floral Silhouette Pumpkin
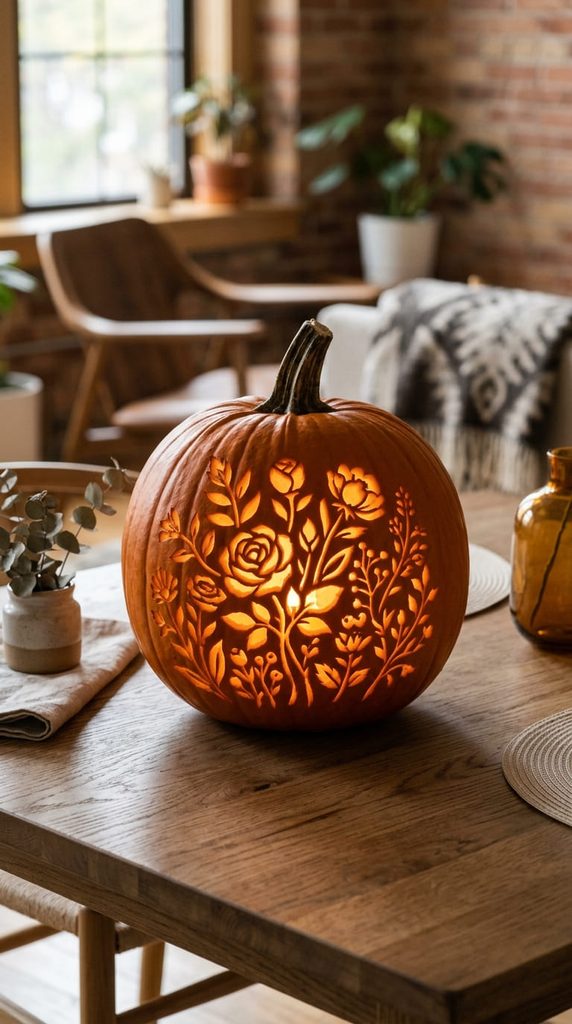
Trace a simple wildflower shape, or even a loose wreath outline, onto the pumpkin and carve out just the silhouette so it glows against the light inside.
It’s soft. It’s pretty.
It doesn’t scream Halloween at all, honestly, which is actually the point if you want a pumpkin that can hang around your porch through Thanksgiving without looking out of season.
3. Mandala Pumpkin
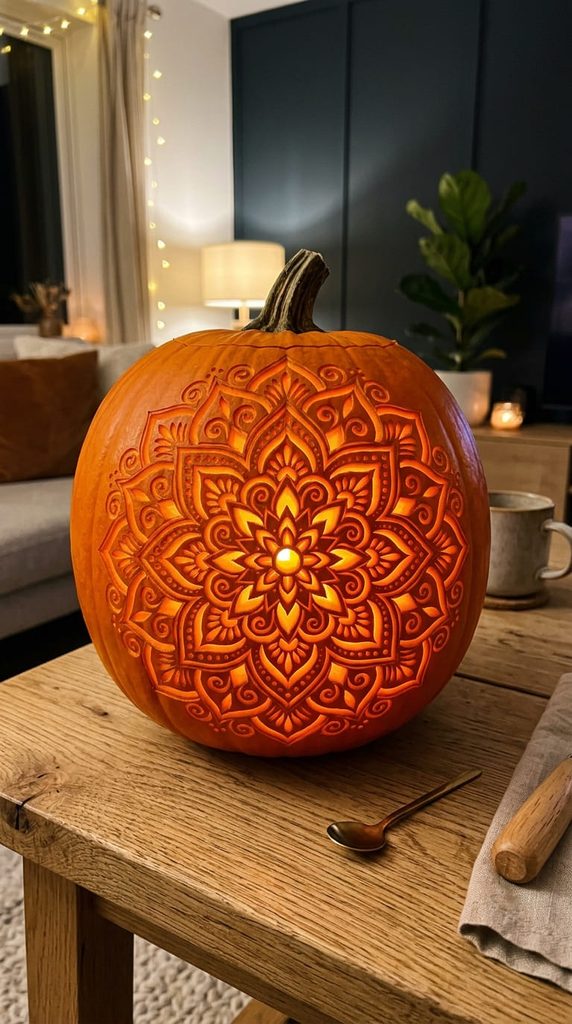
Okay, this one’s a showstopper, and I’ll be the first to admit it takes patience.
A carved mandala pattern turns a plain pumpkin into something that looks like actual art rather than a Tuesday-night craft project.
You don’t have to freehand it, though. Print a mandala template online, tape it onto the pumpkin, and poke through the lines with a pin before you even pick up a knife.
Slower process, but the payoff is worth it.
4. Cat Silhouette Pumpkin
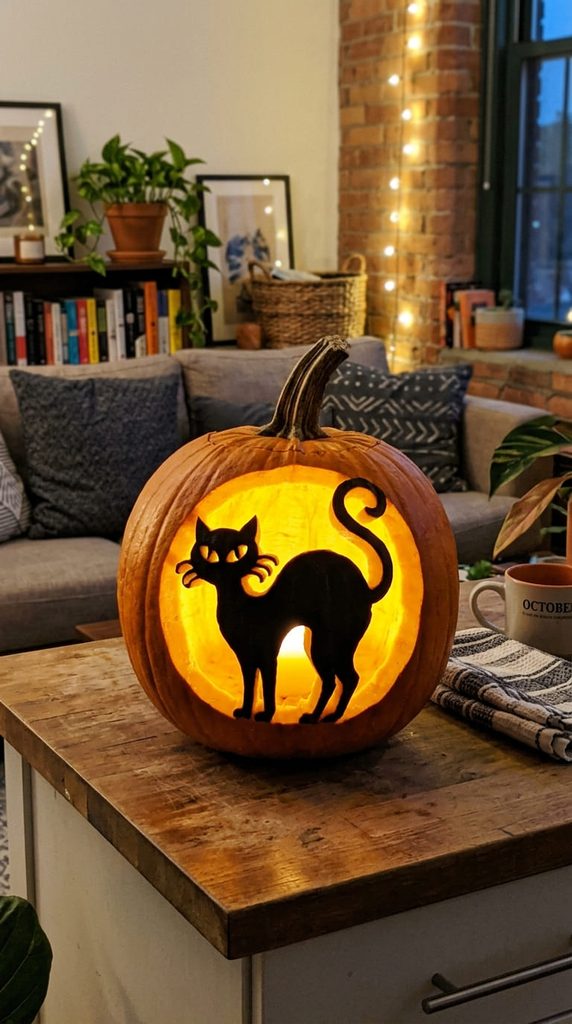
An arched-back black cat carved into the front of a pumpkin reads clearly from across the yard and doesn’t require any fine detail work at all.
If you want something spooky but not scary, this is probably your fastest route there.
5. Owl Pumpkin
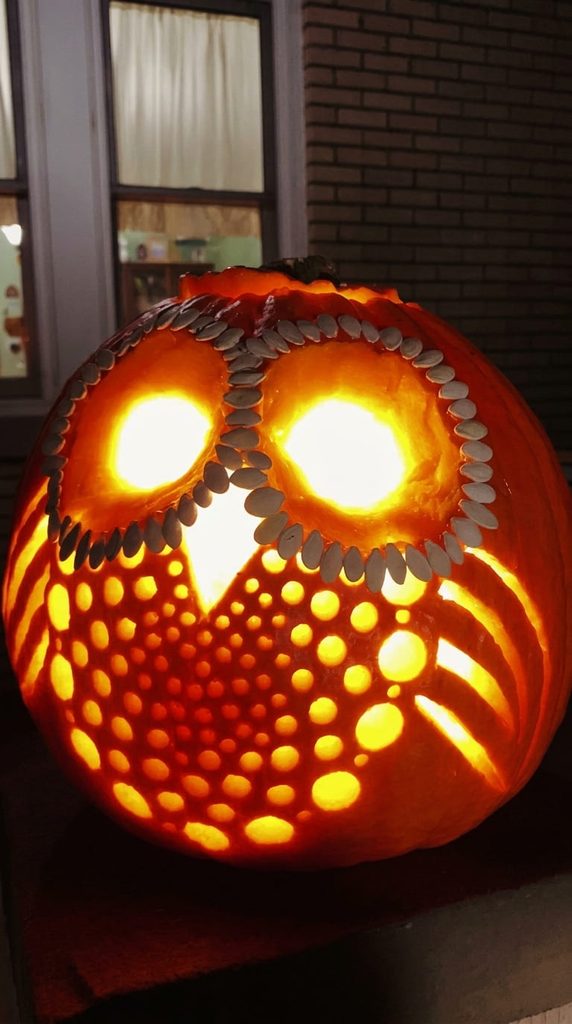
So this one’s more beginner friendly than it might look at first glance.
Carve the eyes all the way through and once it’s lit at night, they catch the candlelight in a way that’s honestly a little magical.
6. Fox in the Woods Pumpkin
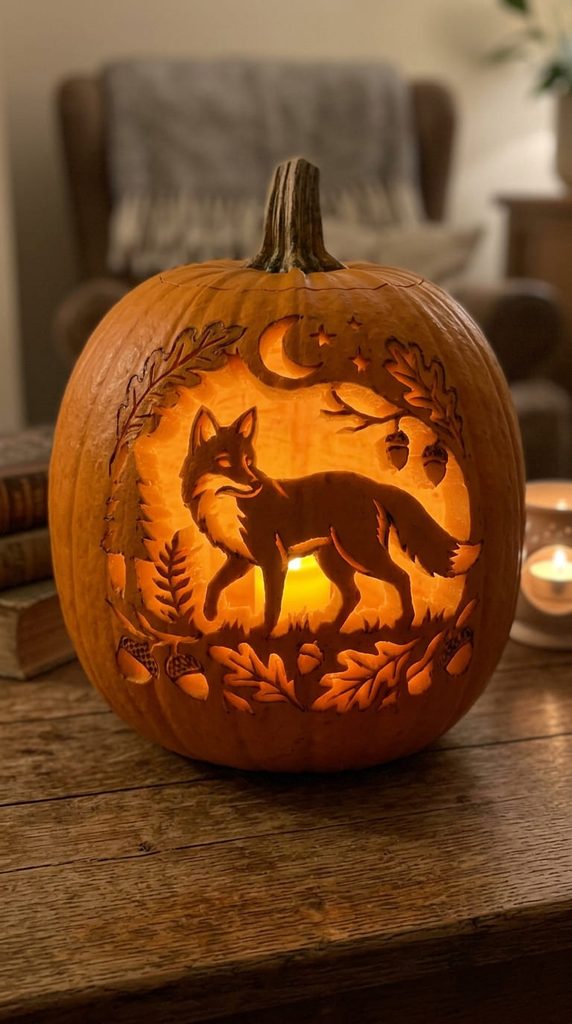
A fox silhouette tucked in front of a simple tree line gives you a whole little woodland scene on one pumpkin instead of just a single shape.
It reads as more intentional, like you actually planned it out instead of grabbing whatever template was on top.
7. Witchy Minimalist Pumpkin
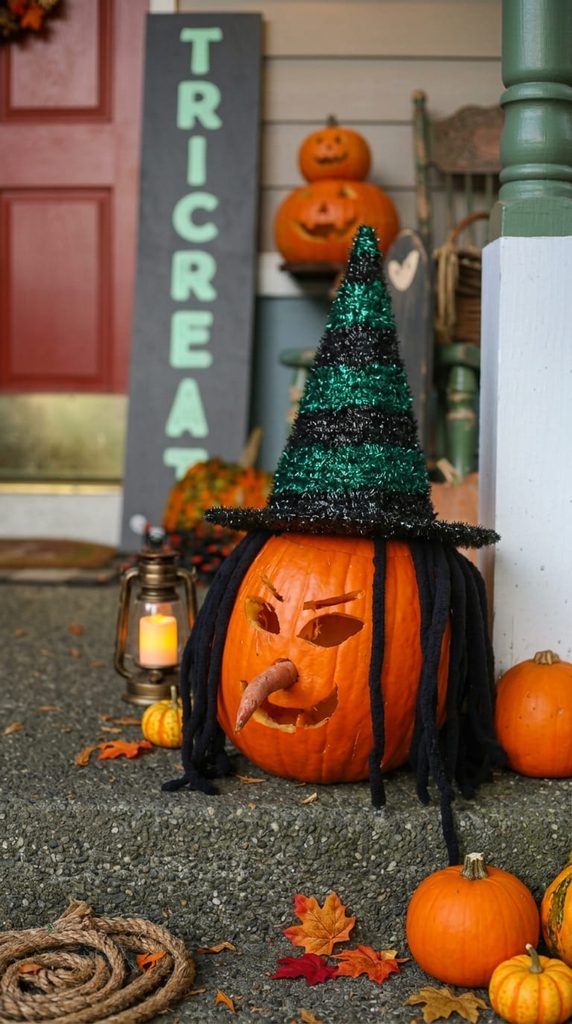
This one’s a good pick if your porch leans more neutral or farmhouse and a big spooky scene would clash with the rest of your decor.
RELATED: Fall Porch Decor Ideas That Feel Cozy and Expensive
8. Drilled Dot Pattern Pumpkin
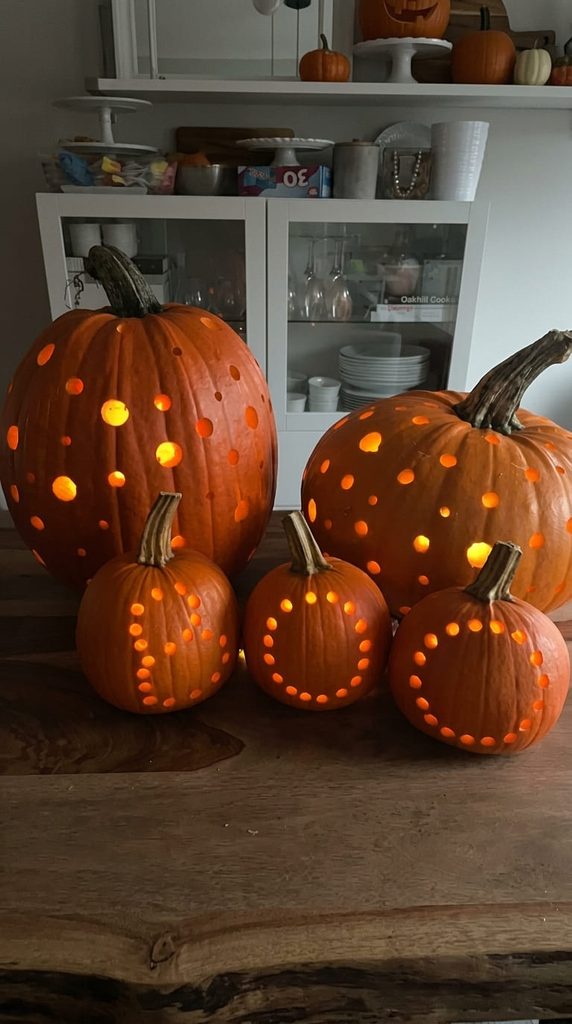
This one’s a little different from everything else on the list, and I actually think it’s underrated.
Instead of a knife, you use a drill with a few different sized bits to punch a pattern of dots into the pumpkin, either scattered randomly or arranged into something like a spiral or a constellation.
Lit up at night, it genuinely looks like tiny stars. And once you get the hang of the drill, it’s one of the easier designs here despite looking complicated.
9. No-Carve Painted Pumpkin
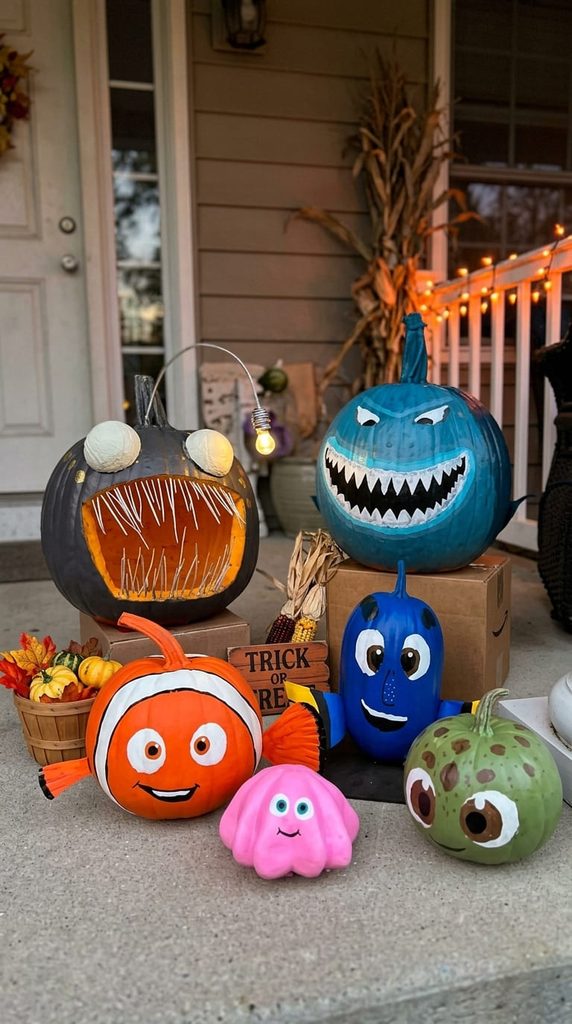
If cutting into a pumpkin sounds like more mess than you’re up for, skip it.
Paint pens or acrylic paint let you put a design on the surface with none of the scooping, none of the seeds, none of the risk of it caving in a week later.
10. Etched Peel Pumpkin
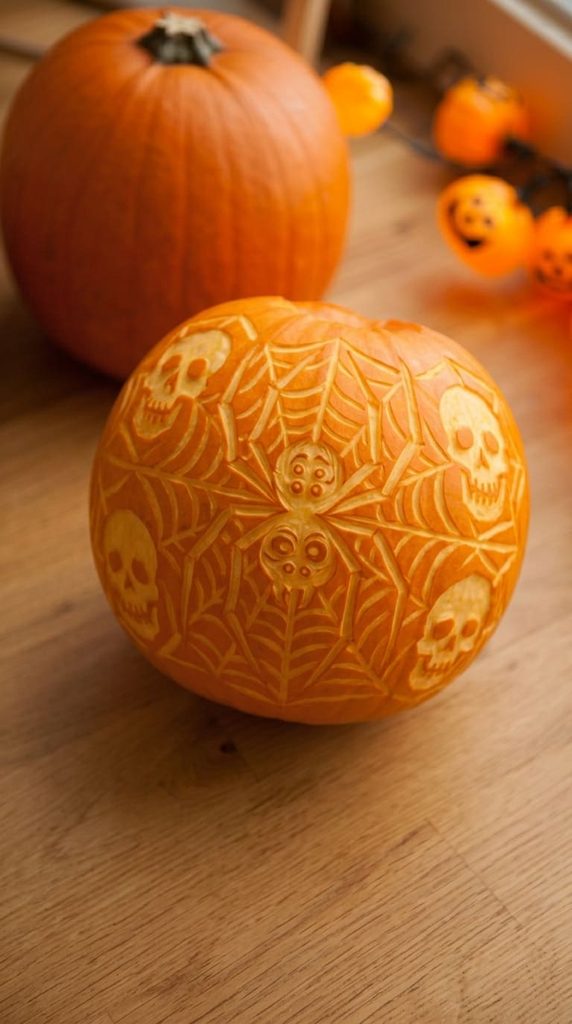
Instead of cutting all the way through, you’re only peeling away the top layer of skin so the lighter flesh underneath shows through.
The result is subtle, almost like a relief carving rather than a cutout.
11. Vintage Cartoon Face Pumpkin
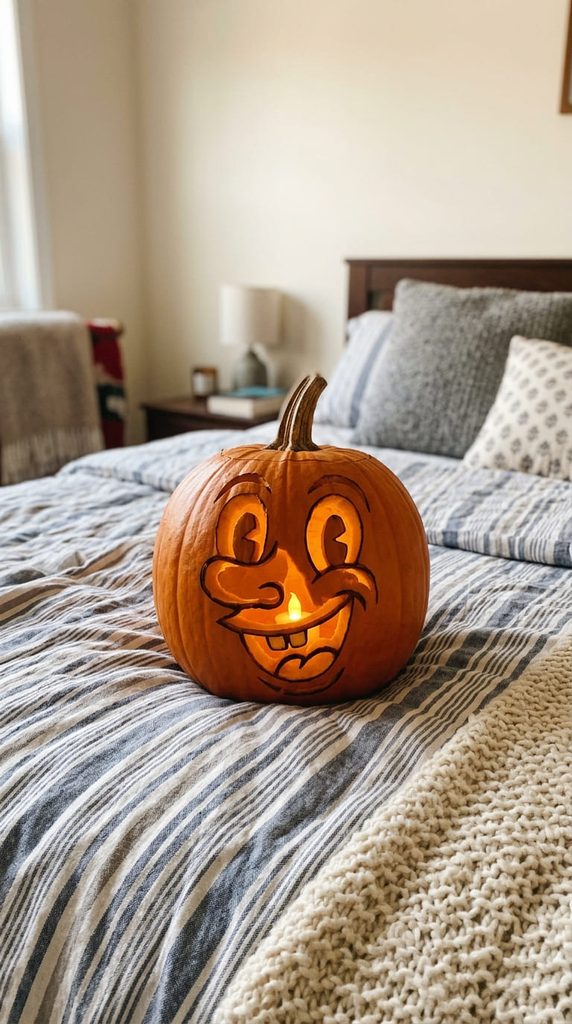
Skip the scary expression and go for something soft and rounded instead, the kind of face you’d see on an old Halloween postcard from decades ago.
Big round eyes, a simple curved smile, maybe two small circles for cheeks.
It’s unexpectedly charming sitting next to all the spookier designs on a porch full of pumpkins.
12. Galaxy and Stars Pumpkin
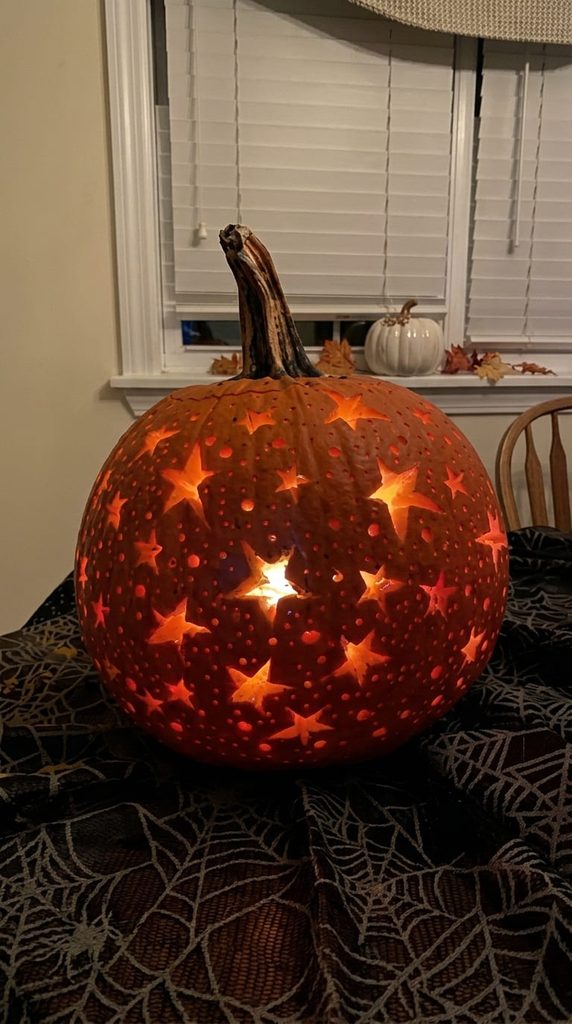
A scatter of stars, a crescent moon tucked in the corner, maybe a tiny planet if you’re up for it, and suddenly your pumpkin is its own little night sky.
Pair it with a smaller pumpkin carved the same way and set them side by side.
It reads as a matched set instead of two random pumpkins that happen to be next to each other.
13. Striped Ombre Pumpkin
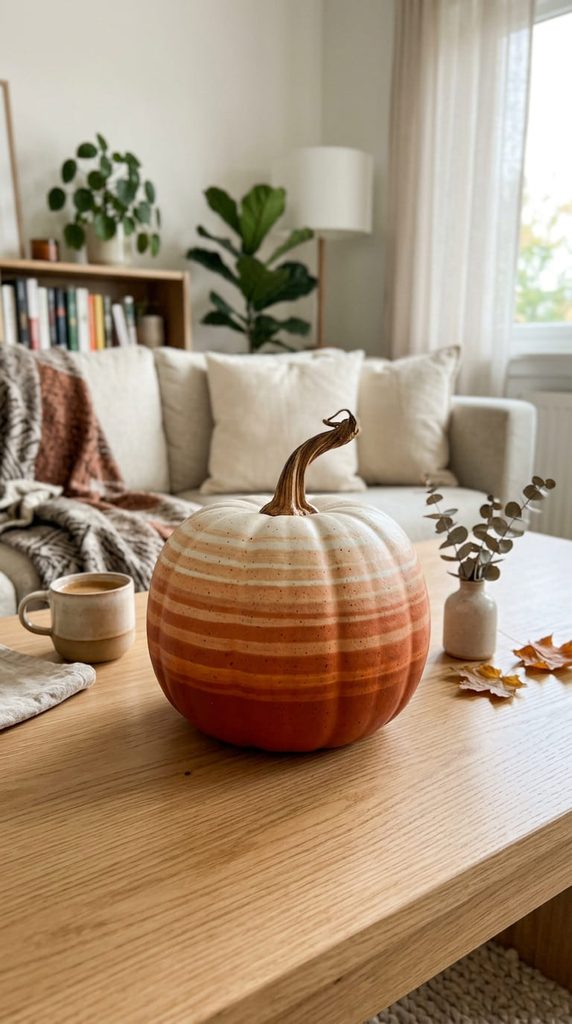
Instead of one design, carve or peel a series of stripes, horizontal or vertical, at slightly different widths.
Once it’s lit, the stripes glow at different intensities depending on how deep each one was cut, which gives you a soft ombre look without touching a single drop of paint.
RELATED: Cozy Fall Living Room Decor Ideas to Copy This Season
14. Mountain and Tree Line Pumpkin
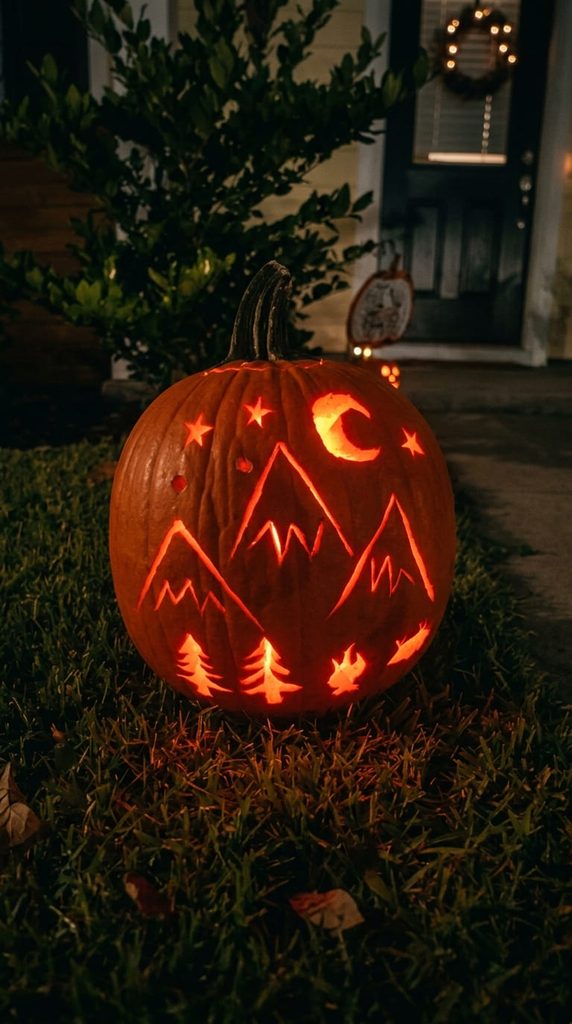
A simple silhouette of mountains and pine trees carved around the base gives you a cozy, outdoorsy look that fits right into a cabin-style fall setup.
It honestly reads more like general decor than Halloween decor, so it’s a good option if you want to put your pumpkin out earlier in the season without it looking out of place.
15. Ghost Silhouette Pumpkin
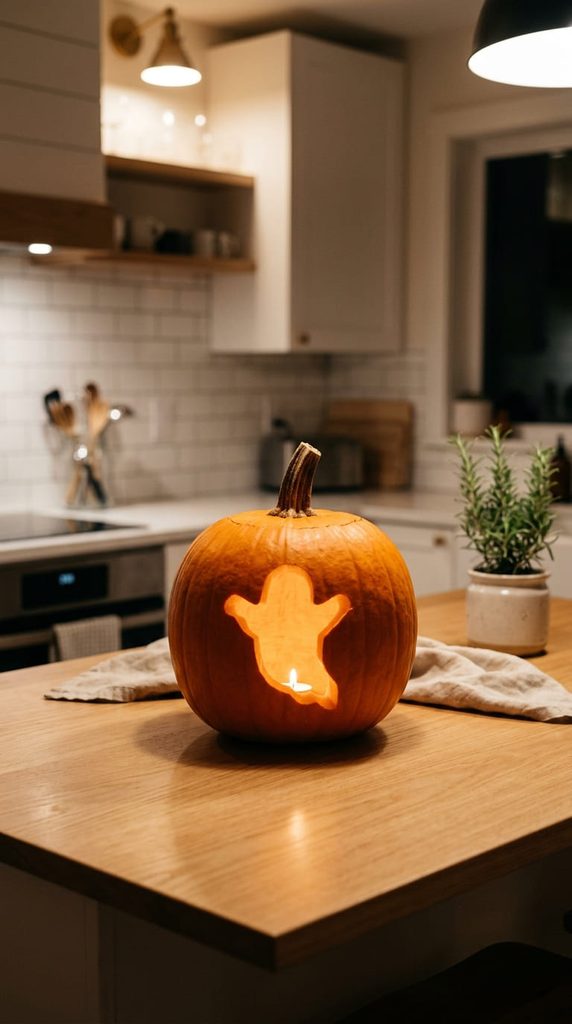
Two or three rounded ghost shapes of different sizes, slightly overlapping, and that’s really it.
Simple, playful, and honestly one of the easiest ideas on this whole list if you’re carving with kids.
16. Pumpkin Stack Face
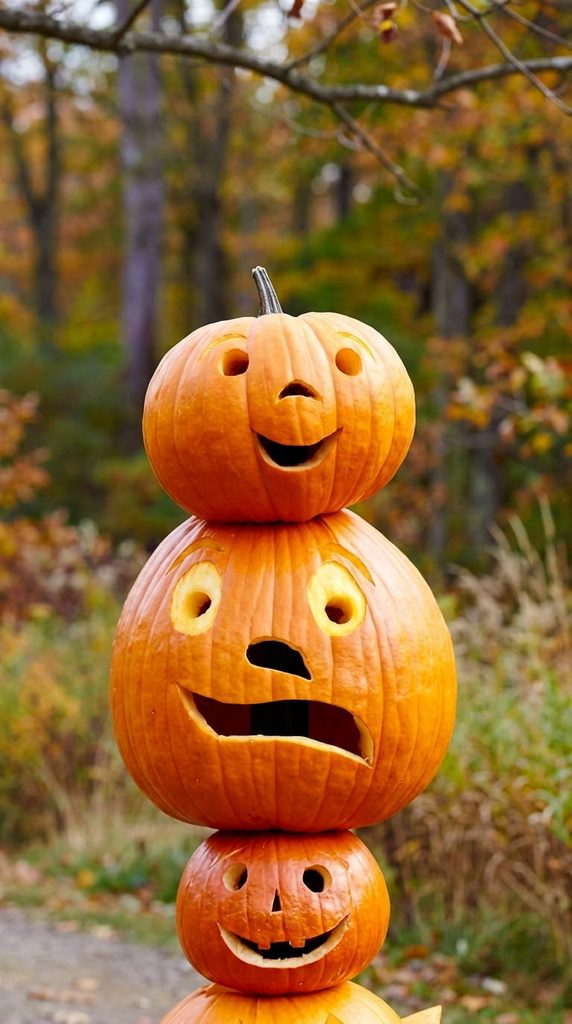
Instead of carving one pumpkin, stack two or three of different sizes and carve one continuous design across all of them, lining the pieces up so the whole thing reads as one image.
It takes some planning to get the alignment right, and I’d be lying if I said my first attempt worked on the first try.
But once it’s lined up, it’s one of the most eye-catching setups on this entire list.
Frequently Asked Questions
What is the easiest pumpkin carving idea for beginners?
Silhouette designs, like the cat, the ghost, or the owl, are probably the easiest place to start since they rely on big, simple shapes instead of fine detail work. Print a template, tape it to the pumpkin, poke the outline with a pin, and connect the dots with a basic carving knife.
How do you keep a carved pumpkin from rotting fast?
The single best thing you can do is rub petroleum jelly over every cut edge right after carving, since it slows moisture loss and keeps mold from setting in as quickly. It also helps to keep the pumpkin out of direct sun and bring it inside overnight if it’s still warm out, because heat speeds up the whole rotting process.
What tools do you need for detailed pumpkin carving?
detail really benefits from a small linoleum cutter or a clay sculpting tool since they give you way more control than a kitchen knife. A pin or toothpick also comes in handy for transferring a printed template onto the pumpkin before you cut anything.
Can you carve a pumpkin without making a face?
Yes, and a lot of the most popular designs right now don’t have a face at all. Moon phases, floral silhouettes, mandalas, drilled dot patterns, none of these include a face, and that’s honestly part of what makes them feel more like general fall decor than a strictly Halloween decoration.
How long does a carved pumpkin last?
Most carved pumpkins hold up for about five to ten days once they’re exposed to air, though this really depends on the weather and how much upkeep you’re willing to do. Cooler temperatures, some shade, and a coat of petroleum jelly on the cut edges can stretch that closer to two weeks.