
This post may contain affiliate links. As an Amazon Associate, We earn from qualifying purchases if you buy through our links at no extra cost to you. Please read our full disclosure here.
You spent time picking the perfect bedding. You hung up your fairy lights just right. You even found the cutest little shelf for your plants.
And then… your eye lands on the light switch cover.
That plain, sad, white plastic square just sitting there on the wall like it didn’t get the memo.
Honestly? It’s one of those tiny details that nobody talks about, but the second you fix it, the whole room feels more put together.
And the best part? Painting your light switch covers is one of the easiest, cheapest DIY projects you can actually do at home, even if you are not a “crafty person” at all.
Before You Start Here A Few Quick Tips
- Use acrylic paint: It sticks well to plastic and dries fast.
- Remove the cover first: It takes about 30 seconds with a screwdriver and makes painting SO much easier.
- Seal it when you are done: A thin coat of clear acrylic sealant (also called Mod Podge or clear varnish) on top will protect your design and keep it from chipping.
Note: Avoid getting paint on your wall by accident!
Okay, now for the fun part!
20 Light Switch Cover DIY Paint Ideas
1. Marble Effect Light Switch Cover
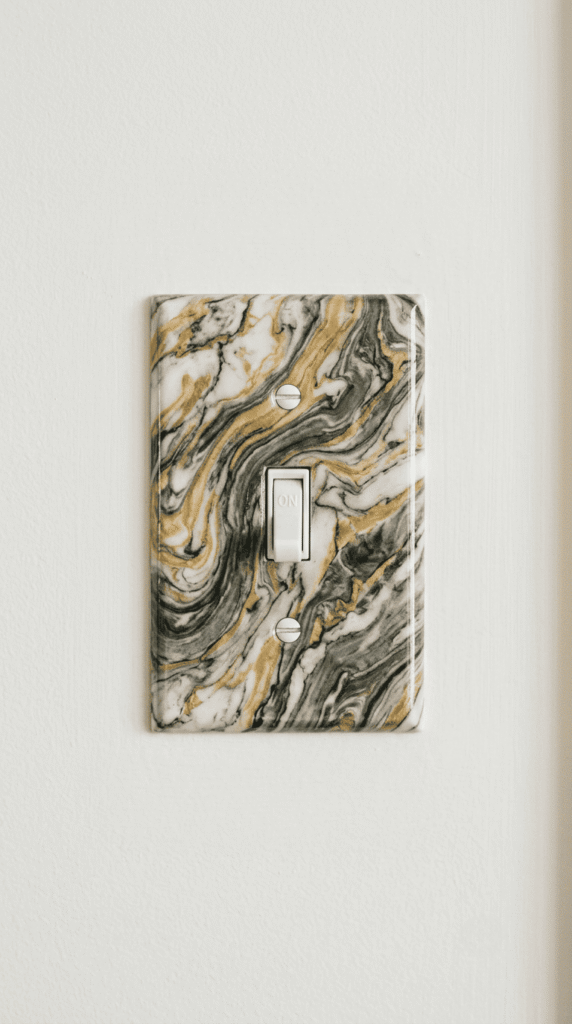
This one looks way more expensive than it actually is, and that is the whole point!
All you need is a few nail polishes (white, grey, and black work great) and a cup of water.
Drop the colors into the water, swirl gently with a toothpick to create that marble look, then dip your cover in.
Done. Seriously, that easy.
2. Pastel Floral Painted Cover
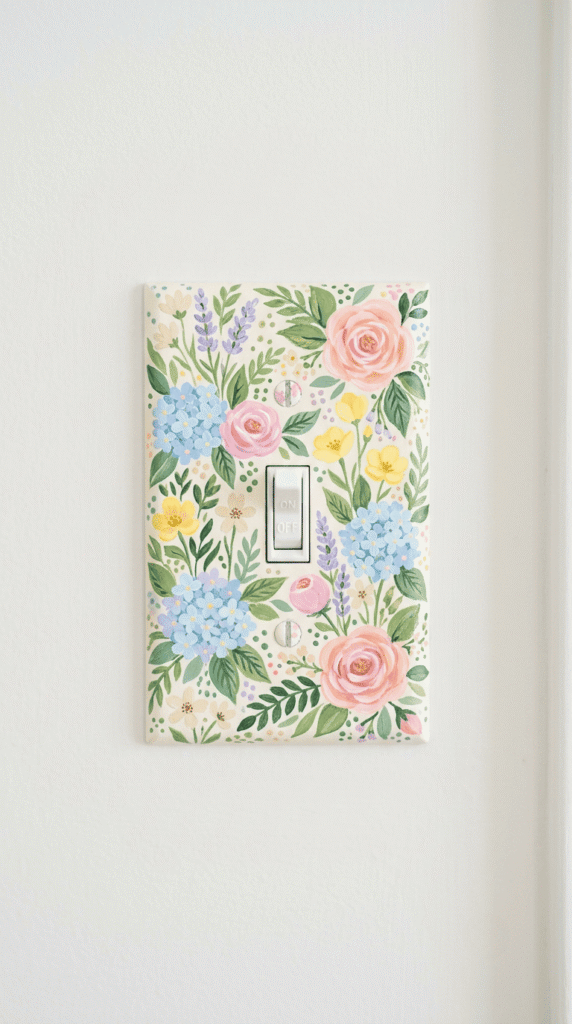
My personal favorites, and it is perfect if you love that soft, dreamy bedroom look.
Paint your cover in a light pastel base, think blush pink, soft mint, or lavender, and then add tiny hand-painted flowers on top.
You do not need to be a great artist for this!
Even simple little five-petal flowers look adorable.
3. Abstract Brush Stroke Cover
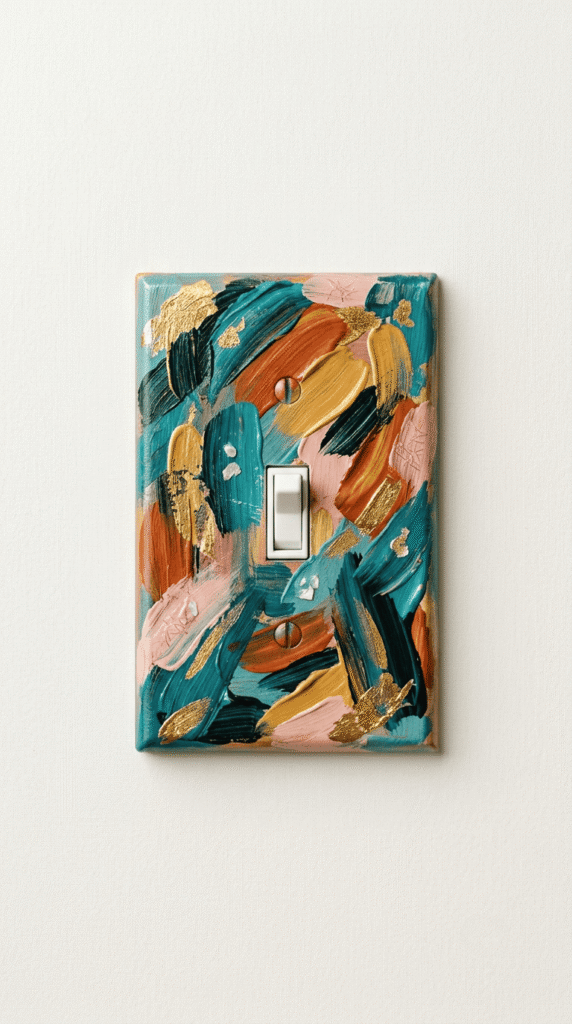
There is no wrong way to do it.
Pick two or three colors that match your room and just…
brush them across the cover however you feel like it.
Overlapping strokes, big bold swipes, messy layers
4. Boho Geometric Pattern Cover
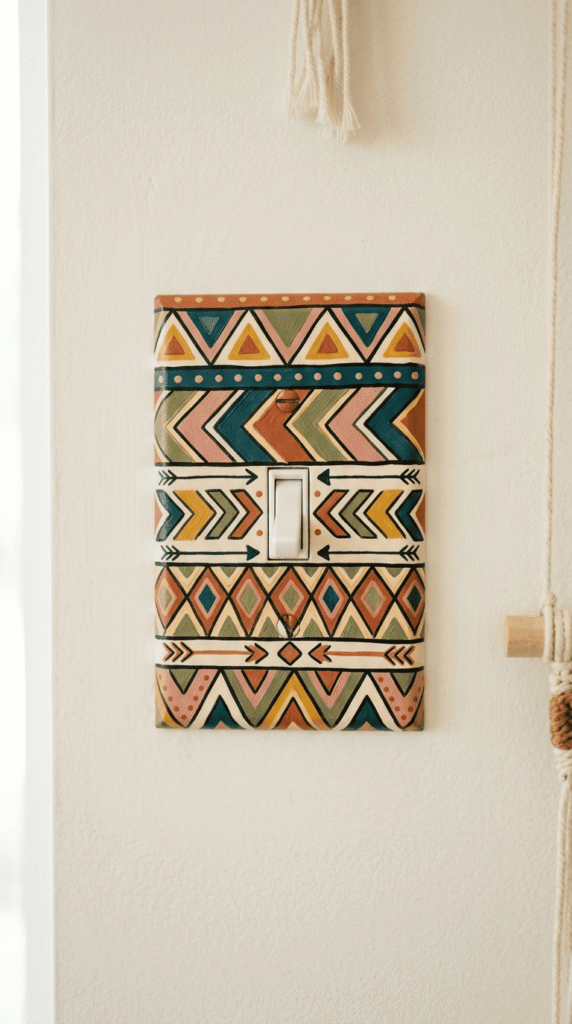
Grab some painter’s tape and map out a simple geometric pattern on your cover (triangles, diamonds, or even just diagonal lines work really well).
Paint inside the sections, let it dry, then peel the tape off slowly.
The result is crisp, neat lines that look like you actually knew what you were doing.
Related Post: 15 Ways to Curate a Cozy Boho Bedroom
5. Galaxy Print Light Switch Cover
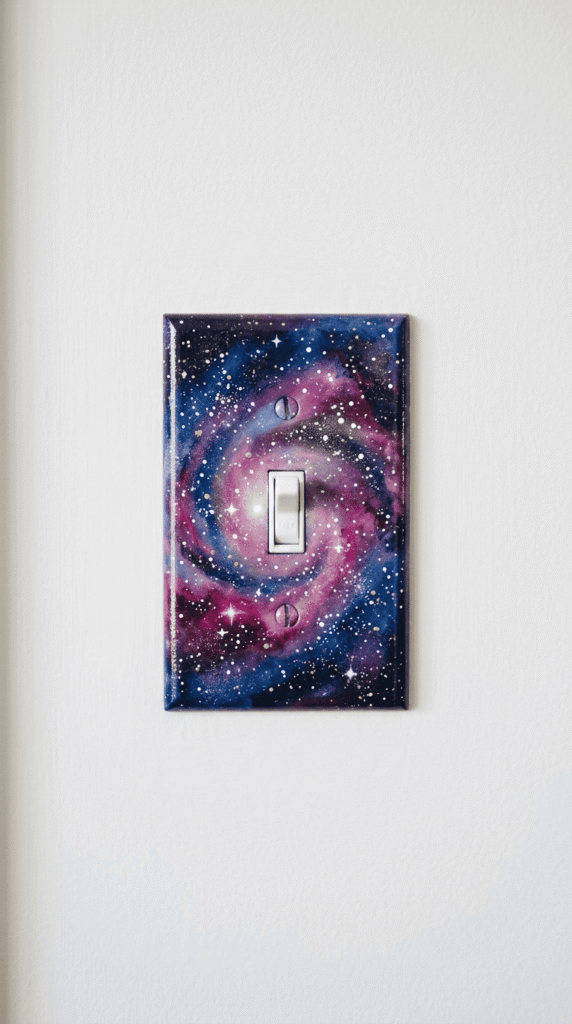
Honstly so satisfying to do this cover.
Start with a black or dark navy base coat.
Once it dries, use a small sponge to dab on purples, blues, and deep pinks in random cloudy patches.
Then flick a tiny bit of white paint with your brush to create stars.
6. Vintage Rose Painted Cover
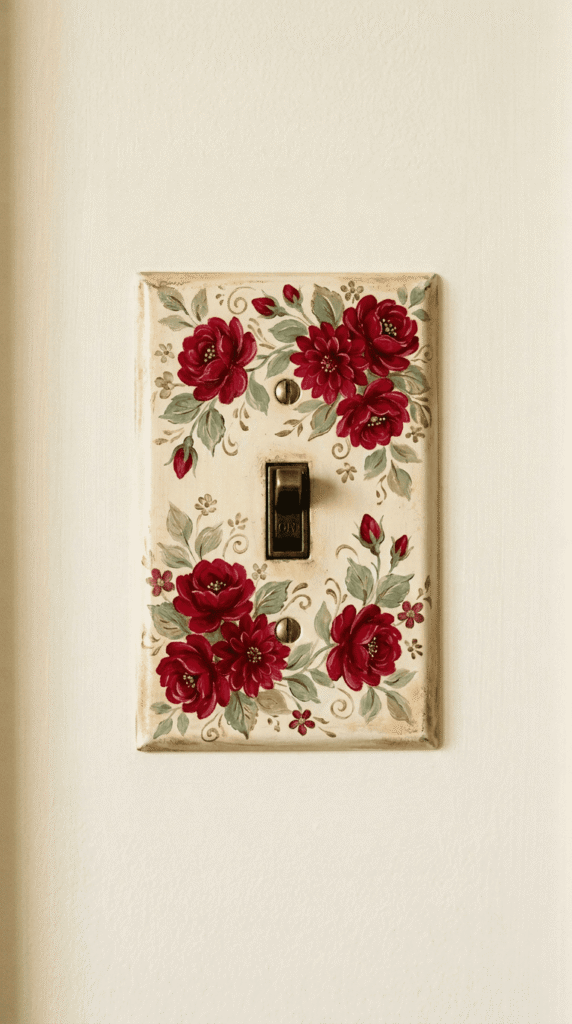
This is for the girl who loves anything that feels soft and romantic.
Paint a cream or dusty pink base, then add simple rose details on top using a small brush.
You do not need perfect roses; loose, impressionistic brush strokes actually look more vintage and charming than anything too precise.
7. Ombre Gradient Cover
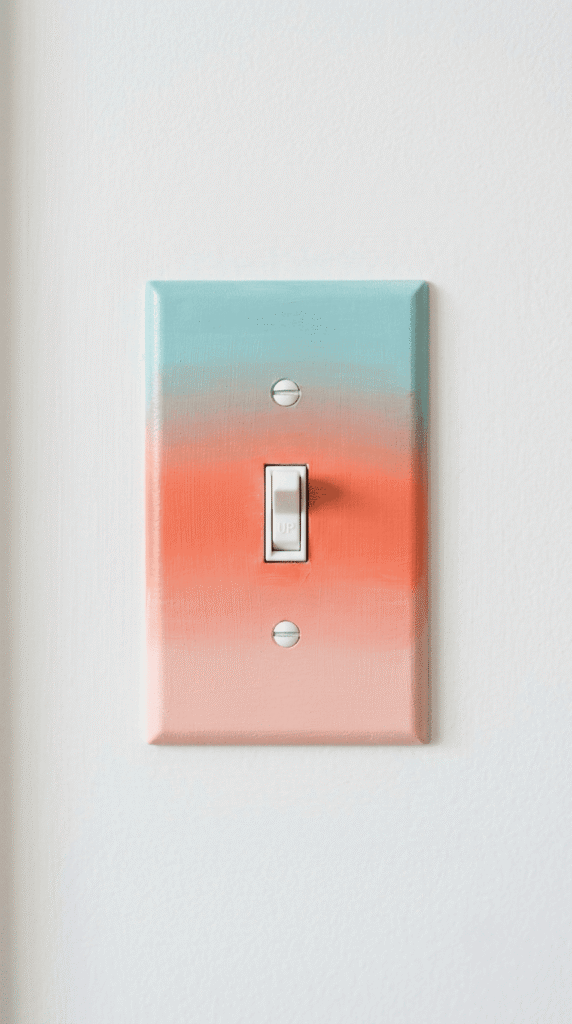
It looks like you put in a ton of effort, but it really only takes about 15 minutes.
Pick two colors that blend nicely together, like lilac into pink or sky blue into mint, and paint them on the cover so one fades into the other.
Use a dry sponge or an old brush to blend the middle section while the paint is still wet.
8. Checkerboard Retro Cover
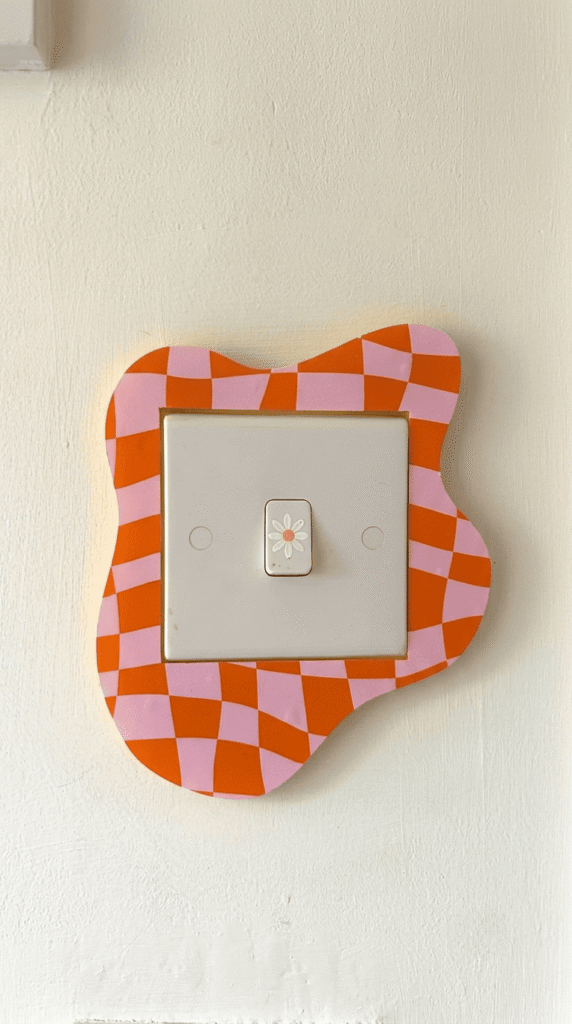
Checkerboard is having such a moment right Now & it honestly works on everything, including light switch covers.
Use painter’s tape to mark off a small checkerboard grid and fill in the squares with two alternating colors.
Very Y2K, very Pinterest, very cute.
Related Post: 2000s Teen Bedroom Ideas That Are Giving MAJOR Nostalgia
9. Gold Leaf Accent Cover
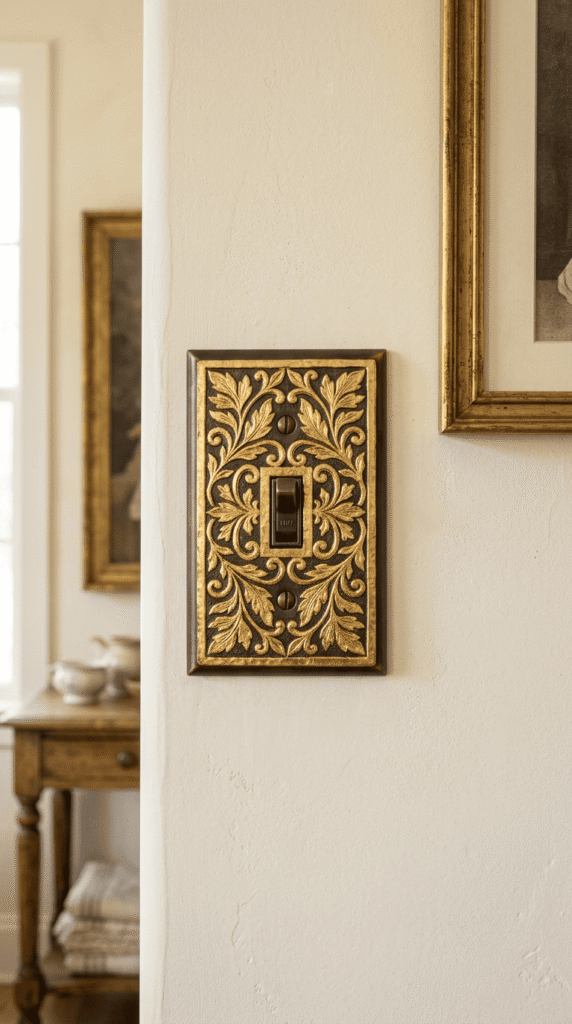
Paint your cover in a solid base color—black, white, or deep green all look amazing—and then press small pieces of gold leaf onto it while a thin layer of Mod Podge is still tacky.
You do not need to cover the whole thing.
Even just a few random patches of gold scattered across the cover look elegant and intentional.
10. Terrazzo-Inspired Cover
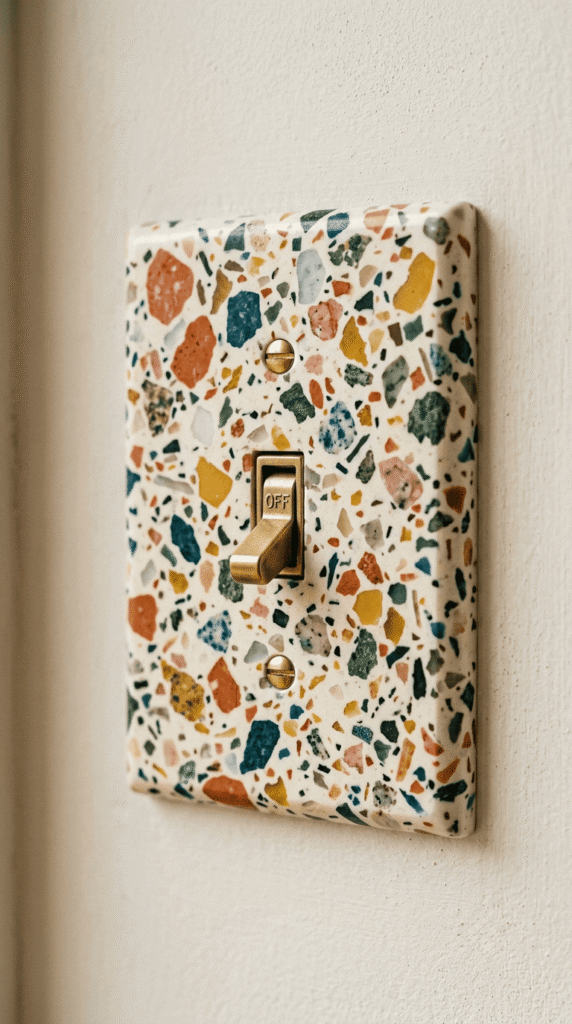
Terrazzo is that speckled, confetti-like pattern you see on fancy floors and countertops. And it is actually super easy to recreate at home!
Start with a white base. Then use a small stiff brush to flick tiny dots of different colors all over the cover—think mustard yellow, dusty rose, sage green, and soft black.
Keep the dots small and random.
Seal it well, and this one will seriously last forever.
11. Sunflower Painted Cover
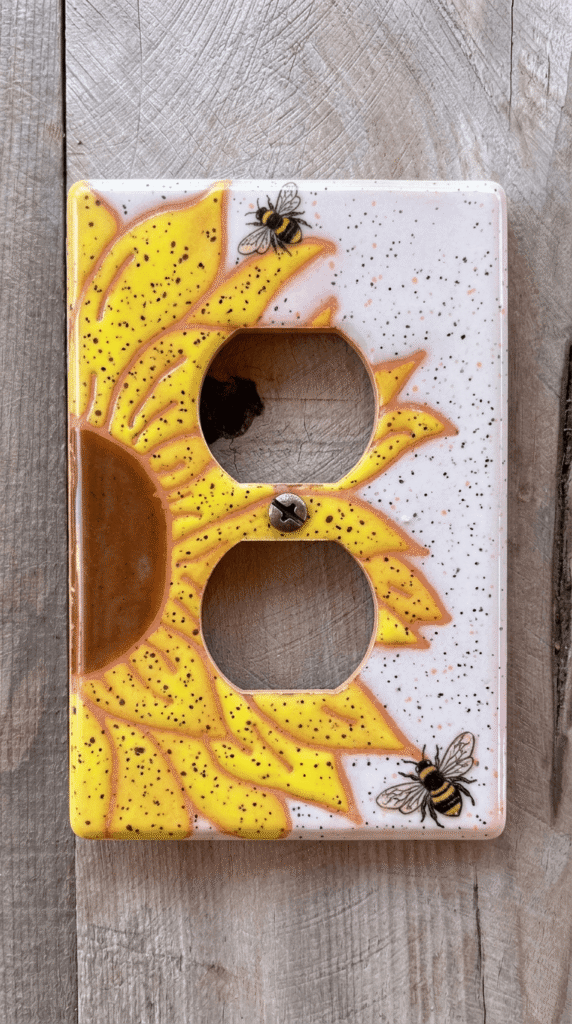
Bright, happy, and just a little bit cheerful in the best possible way.
Paint a white or cream base, then add a simple sunflower in the center using yellow and brown acrylic paint.
Even a beginner can pull this off—the petals do not need to be perfect; they just need to be yellow!
This one is especially great as a summer project or for rooms that already have a warm, sunny feel to them.
Related Post: 20 Summer DIY Ideas That Are Actually So Good
12. Maximalist Decoupage Cover
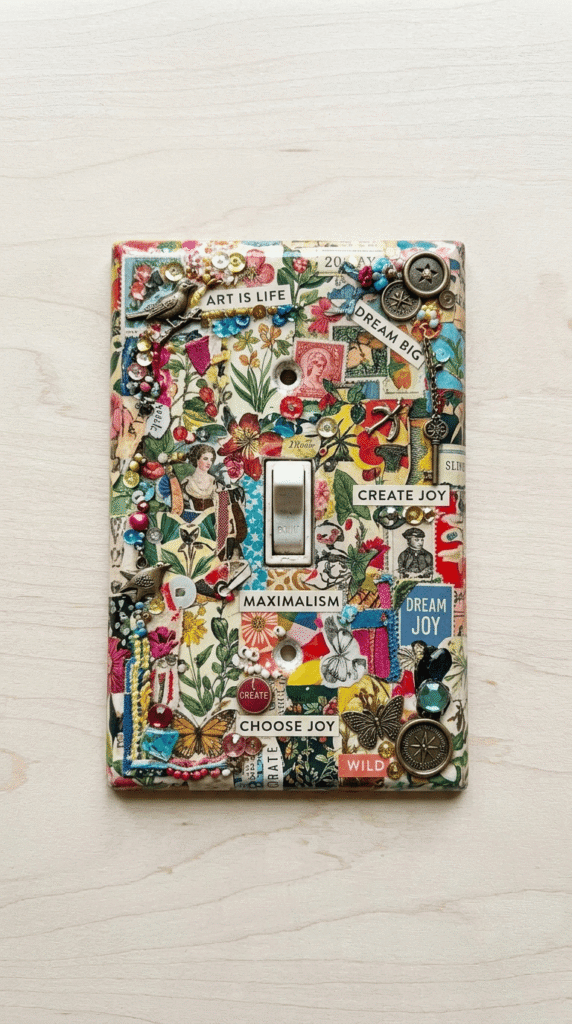
Cut out small images from old magazines, printed photos, or even wrapping paper.
Arrange them on your cover however you like, then glue everything down with Mod Podge and coat the top with another layer to seal it.
The result is a little collage that is 100% you and 100% one of a kind.
13. Aesthetic Mushroom Cover
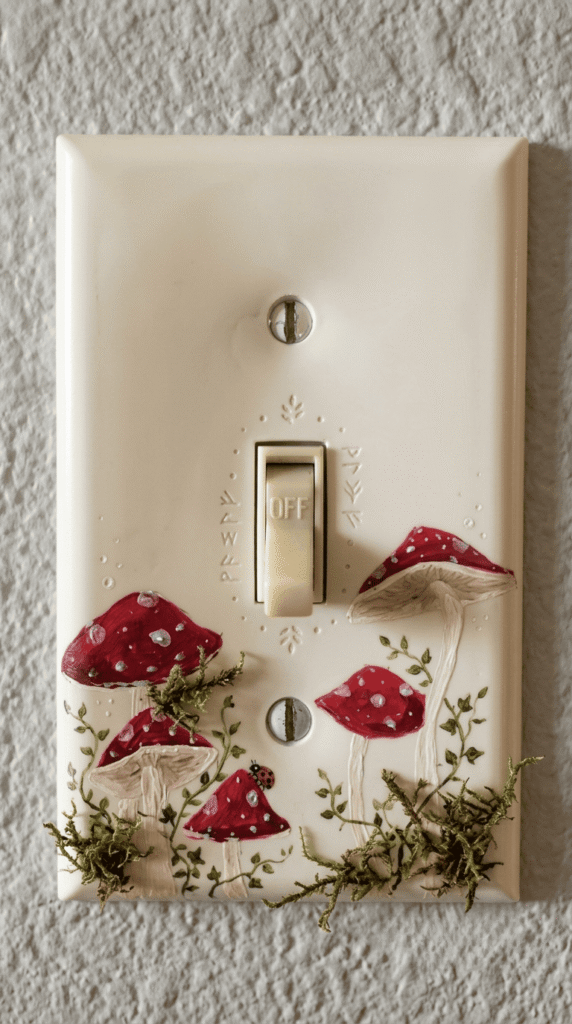
Okay this one is for the cottagecore girls and honestly it is so adorable.
Paint a soft off-white or sage green base and then hand-paint tiny mushrooms on top.
Simple red caps with white dots are the classic look, but earthy browns and creams feel more subtle if you want something a little more toned down.
Add tiny flowers or leaves around the mushrooms to fill in the space.
14. Celestial Moon and Stars Cover
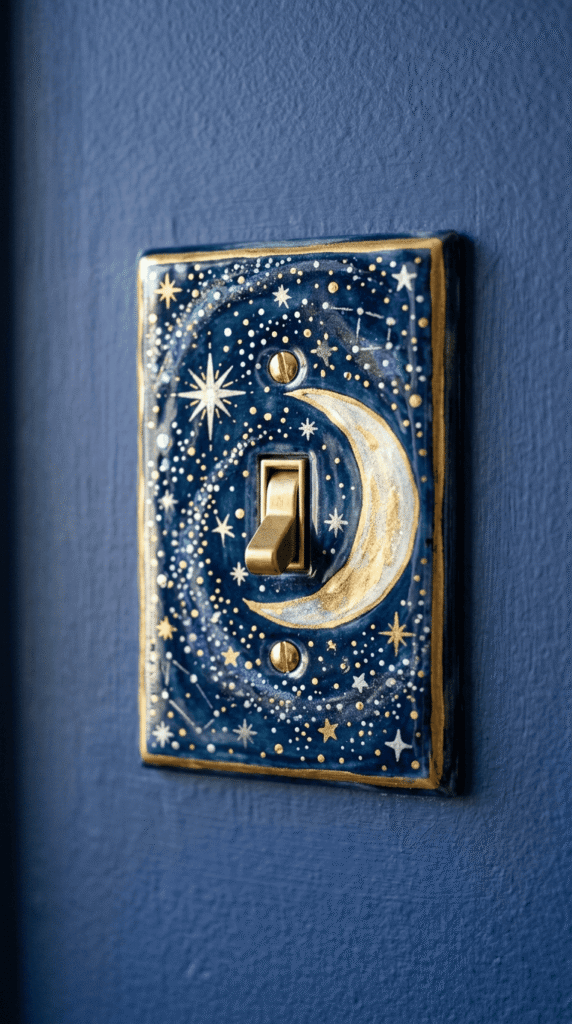
Moody, dreamy, and honestly kind of breathtaking for something so small.
Use a dark navy or deep purple as your base. Once dry, paint a simple crescent moon using gold or cream paint, then add tiny stars scattered around it.
You can use a star stencil if freehand feels too intimidating, but honestly even hand-painted stars with a tiny brush look so charming.
This one is especially gorgeous if your room leans into that mystical, moody aesthetic.
15. Watercolor Wash Cover
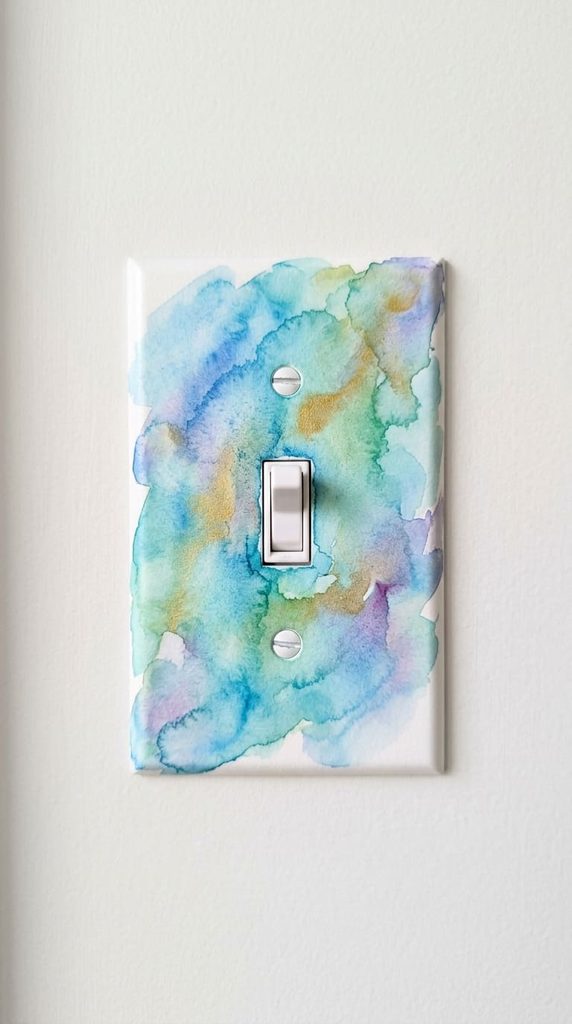
This one is soft, pretty, and gives the most effortlessly artistic look.
Mix your acrylic paint with a decent amount of water to thin it out. The goal is a wash of color, not a solid coat.
Brush it over your cover in loose, overlapping layers of two or three pastel shades. The colors will blend and bleed into each other in the most beautiful way.
It looks like a real watercolor painting, and nobody will believe you made it yourself.
16. Tropical Leaf Cover
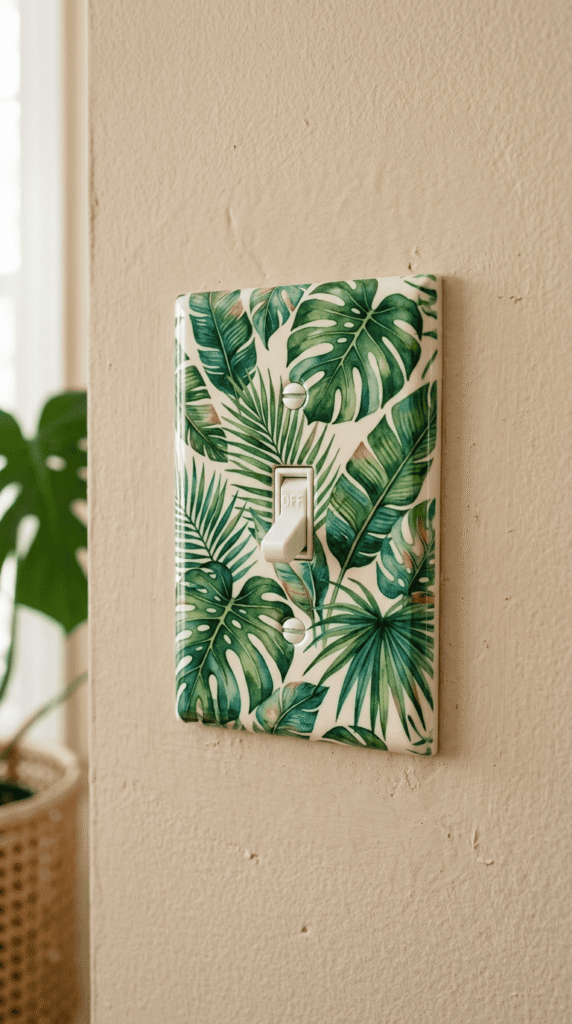
Fresh, green, and perfect for the plant lover who wants their whole room to feel like a little jungle.
Paint a clean white base, then add large tropical leaves using different shades of green.
Think monstera leaves, banana leaves, or even just simple pointed leaf shapes you really cannot go wrong.
Add a tiny bit of yellow-green for highlights on the leaves to make them look more realistic.
This one pairs so well with actual houseplants nearby, which let’s be honest you probably already have.
17. Pastel Checkerboard Cover
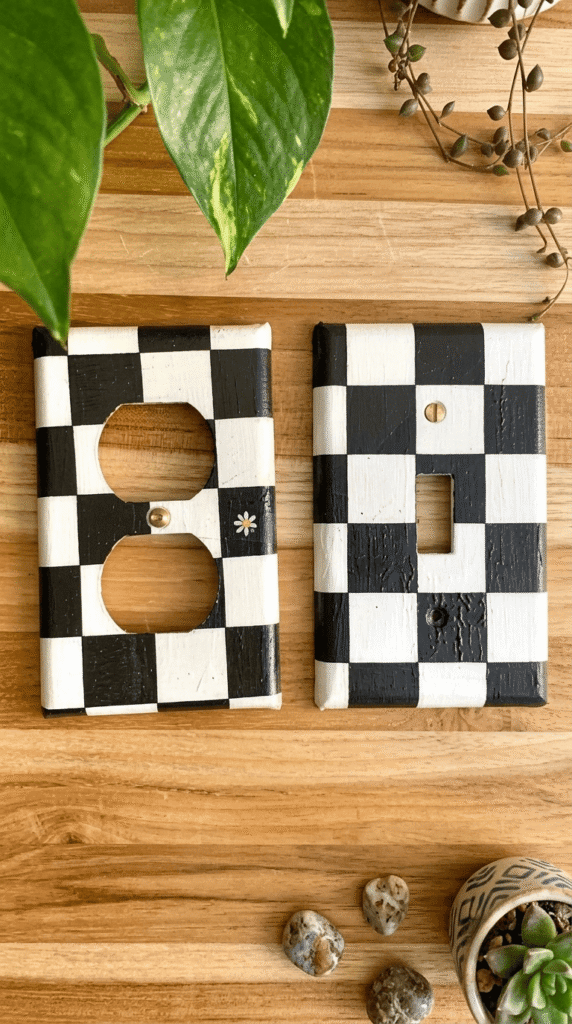
Think of this as the softer, dreamier cousin of the retro checkerboard from idea number eight.
Same method—painter’s tape, two colors, alternating squares—but this time using the softest pastel shades you can find.
Lavender and white, baby pink and cream, mint and soft yellow.
The result feels less bold and more cozy, which works really well in a bedroom setting.
Simple, sweet, and so easy to pull off even on your first try.
18. Vintage Map or Newspaper Decoupage Cover
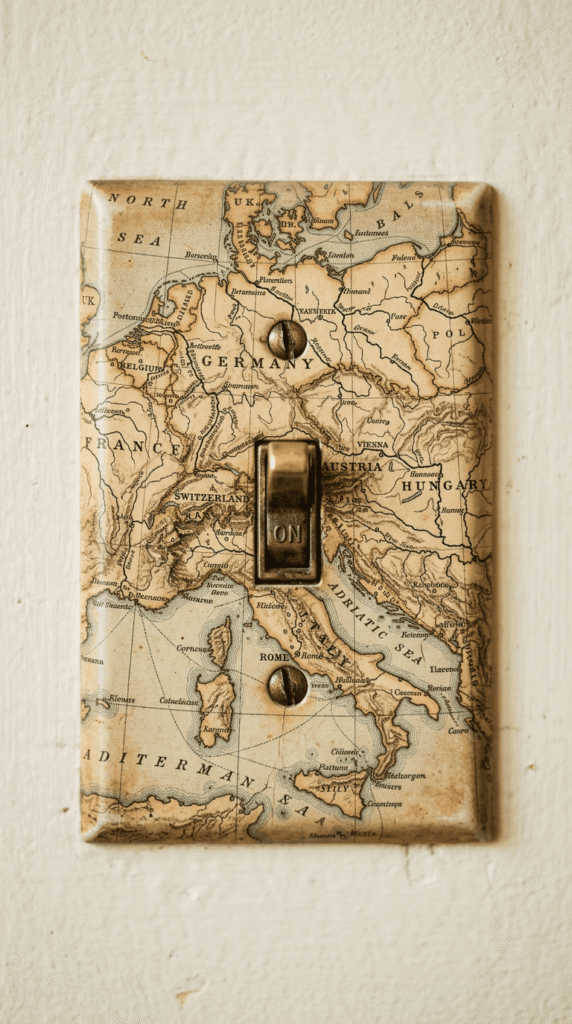
This one is perfect if you love that eclectic, well-traveled, vintage room aesthetic.
Print out a small section of an old map or a vintage newspaper page, cut it to size, and Mod Podge it onto your cover.
Seal the top with another layer and you are done. It sounds almost too easy but the result genuinely looks so cool and intentional.
A great conversation starter, too.
19. Rainbow Stripe Cover
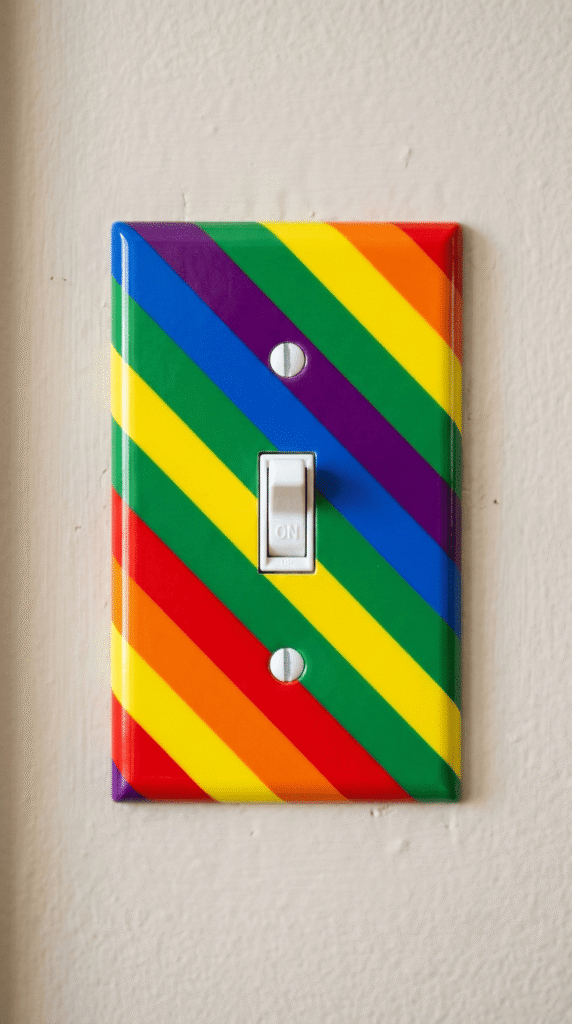
Colorful, fun, and honestly just makes you happy every time you walk into the room.
Use thin strips of painter’s tape to mark out horizontal or diagonal stripes across your cover.
Paint each section a different color of the rainbow.
This one works especially well in kids’ rooms, craft rooms, or any space where you want to bring in a little extra joy and color.
20. Personalized Monogram Cover
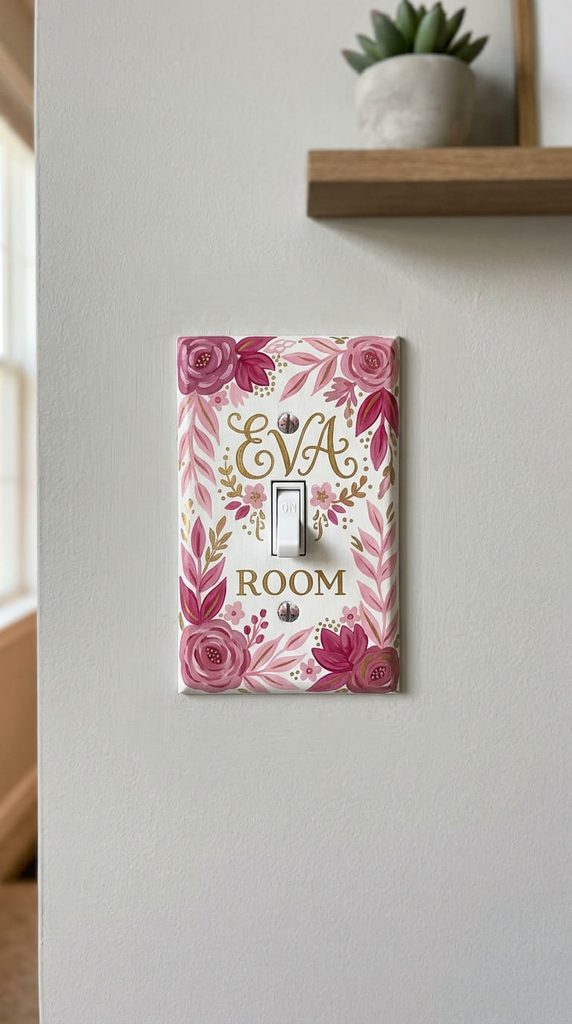
And saving one of the most personal ideas for last!
Paint a solid base in whatever color matches your room best.
You can also add tiny details around the letter like dots, small flowers, or a simple border to make it feel a little more decorated.
It is such a small thing, but having your initial on your light switch cover makes your space feel like it is truly and completely yours.
Frequently Asked Questions
Can you paint over plastic light switch covers?
Yes, you absolutely can! The key is using acrylic paint, which sticks to plastic surfaces really well. For best results, lightly sand the cover first with fine-grit sandpaper so the paint has something to grip onto. A light primer coat also helps if you want the color to look extra smooth and even.
What kind of paint do you use on light switch covers?
Acrylic craft paint is the best option for DIY light switch covers. It dries fast, comes in tons of colors, sticks well to plastic, and is easy to find at any craft store. Avoid oil-based paints — they take forever to dry and are harder to work with for a small project like this.
Do I need to prime a light switch cover before painting?
You do not have to, but it helps a lot! A coat of white spray primer before you start painting gives you a smoother base and helps the paint color look more vivid. If you are painting over a dark or textured cover, priming is especially worth the extra step.
How do you seal a painted light switch cover so it lasts?
Once your paint is fully dry, apply one or two thin coats of clear acrylic sealer or Mod Podge over the top. This protects your design from scratching, chipping, and everyday wear. Let each coat dry completely before adding the next one.
Is it safe to paint a light switch cover while it is still on the wall?
It is much safer and easier to remove the cover first. Turn off the light switch, unscrew the cover with a small screwdriver, and paint it separately. This way you avoid getting paint near any electrical parts and you get a much neater, more even result.



Pingback: 15 Bedazzled DIY Craft Ideas Anyone Can Make at Home - 2026