This post may contain affiliate links. As an Amazon Associate, We earn from qualifying purchases if you buy through our links at no extra cost to you. Please read our full disclosure here.
So here’s a confession. I bought one pack of rhinestones for a single bedazzled DIY project back in the spring. That was it. That was the whole plan.
Now half the stuff in my house sparkles and I genuinely can’t explain how it got this far.
If you’ve never bedazzled anything before, fair warning, it’s kind of addictive.
There’s something satisfying about taking an item that’s been sitting around looking boring for months and turning it into something people actually notice.
I’ve made most of the projects on this list myself. A couple of them I had to redo because I used the wrong glue (more on that in a second).
Let’s get into it.
Craft Supplies You’ll Need
A few things I wish someone had told me before I started gluing gems onto everything I own.
- Rhinestone Bedazzling Kit: A pre-sorted multi-color flatback gem set so you always have the right shade and size ready.
- Wax Gem Picker Pen & Tweezers: Essential tools for grabbing and placing tiny rhinestones with pinpoint accuracy.
- Hotfix Rhinestone Applicator Tool: (Optional) Perfect for quickly adhering heat-set rhinestones directly onto fabric, denim, or canvas.
1. Bedazzled Phone Case
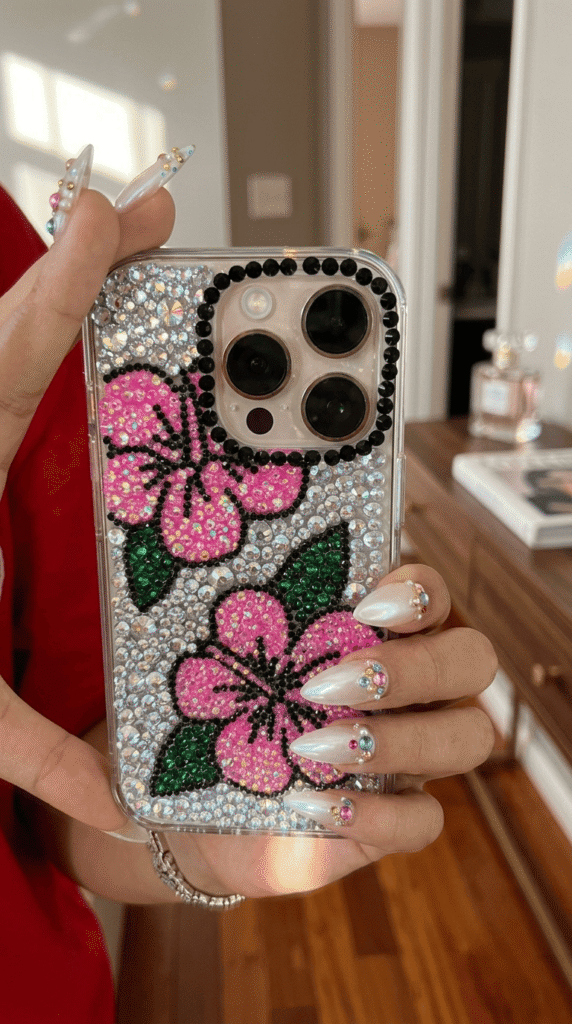
This is the project that started it all for me, so it feels right to put it first.
Grab a clear case, silicone or hard plastic both work, and start along the edge first.
It gives you a border to work inward from, which makes the whole thing look way more intentional than just scattering gems randomly.
2. Rhinestone Hairbrush
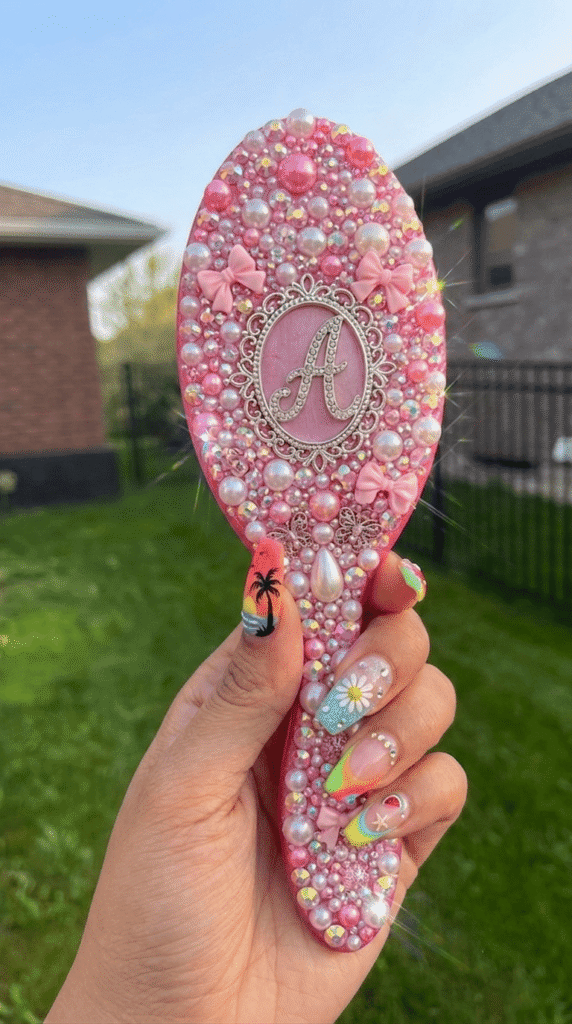
I did not expect this one to become the most-used item on this entire list. But it did.
Handle only. Never the bristles, obviously. Hot glue works fine here since a brush handle is rigid and gets a firm grip rather than a lot of bending.
One color looks clean and expensive. Mixed colors look more like confetti in a good way.
3. Bling Phone Charger Cord
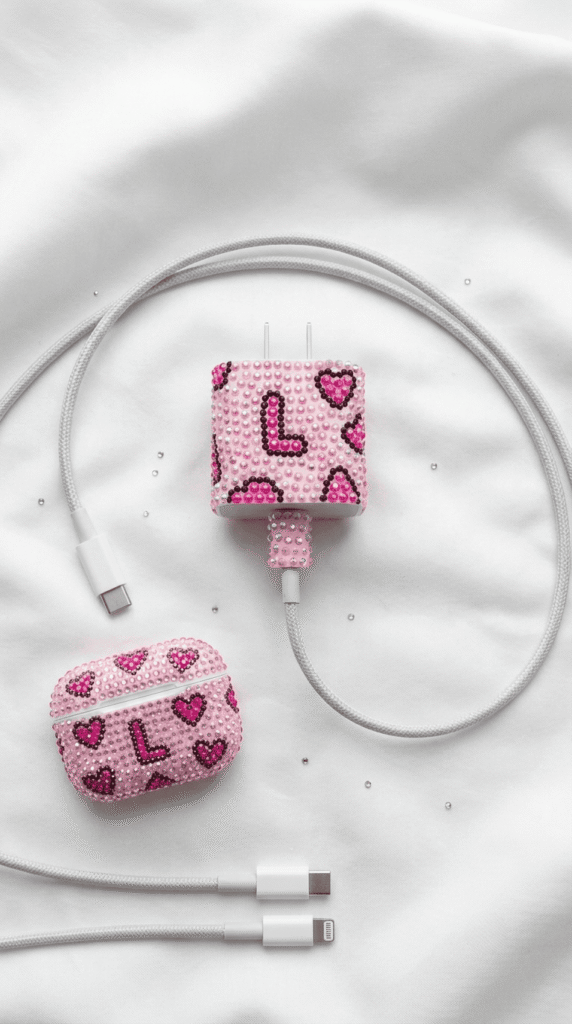
Sounds a little much until you try it, and then you get it immediately.
Also, you will never mix up your charger with your roommate’s again. Small win, but a real one.
4. Bedazzled Perfume Bottle
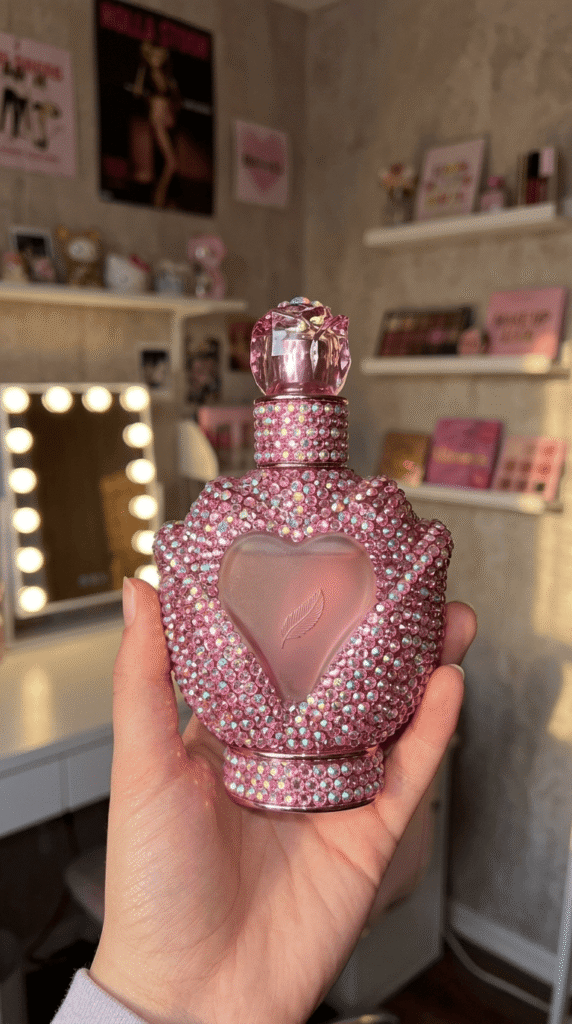
A good one if you’re the type who can’t bring yourself to toss an empty perfume bottle. (No judgment. I have four sitting on my dresser right now.)
Clean it first and let it dry completely; any leftover residue will mess with how well the glue grips.
Then work in small clusters instead of trying to cover the whole bottle.
5. Bling Light Switch Covers
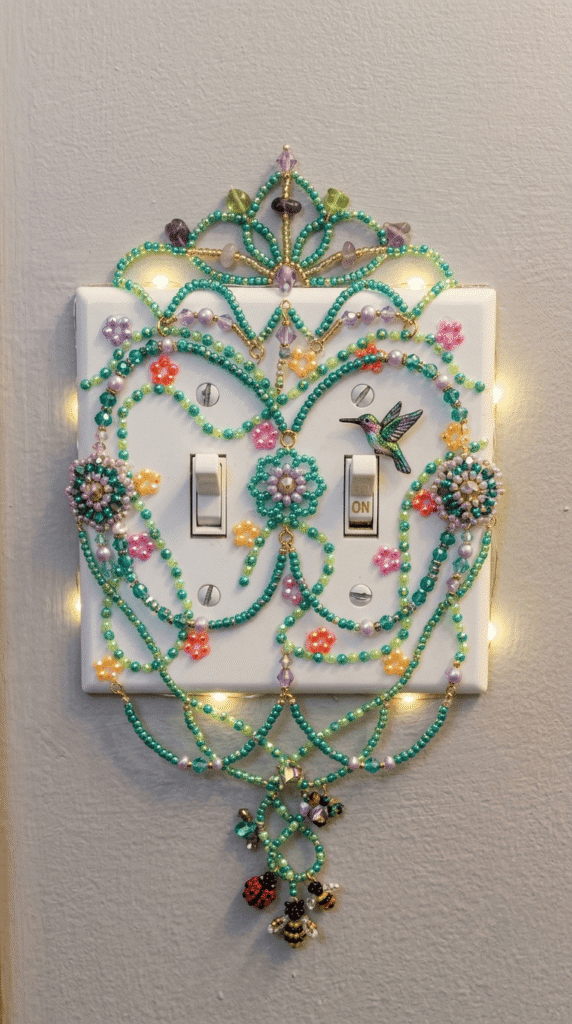
This one sounds weird on paper. It is not weird in person. It’s honestly one of my favorite tiny upgrades in the whole house.
Swap in a plain plastic cover plate, outline the edges with smaller stones, let it fully dry before you screw it back on.
If switch plates are your thing (they became mine, apparently), I’ve got a whole post on light switch cover ideas that pairs well with this project.
Related Post: 20 Light Switch Cover DIY Paint Ideas
6. Bedazzled Picture Frames
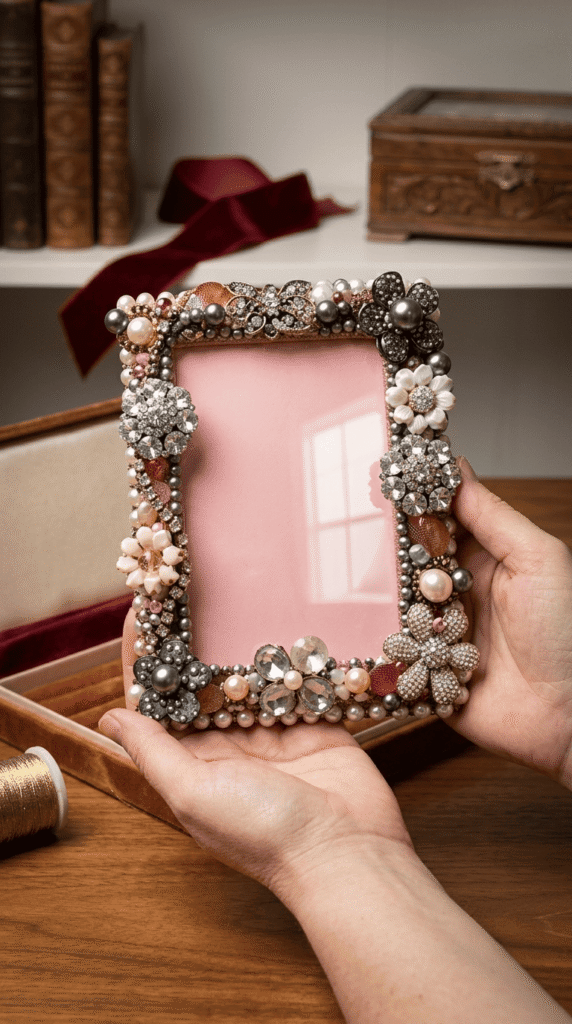
Cheap frames instantly look expensive with a little sparkle. This is one of the more forgiving projects on the list too.
Corners first, then edges. Leaving the middle of each side bare, just accenting the corners, tends to look cleaner than covering every inch.
Related Post: Trendy Wall Decor Ideas
7. Rhinestone Mirror Border
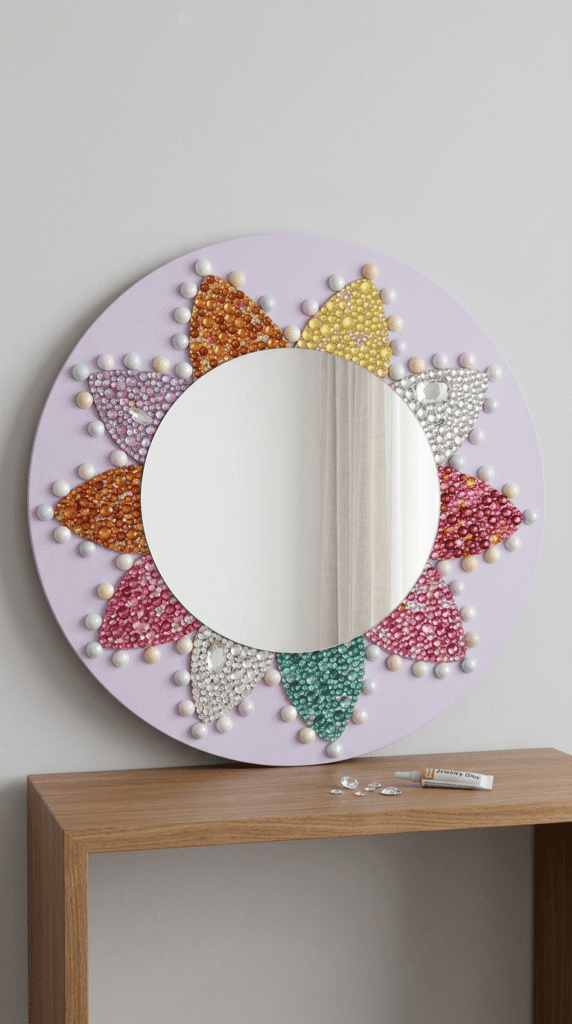
Looks way more complicated than it actually is. I promise.
A small round mirror works best. Go around the rim in one direction so you don’t lose track of where you’ve already been, trust me, it’s easy to double up or leave gaps otherwise.
One row looks elegant. Two rows look bolder, more of a statement piece.
8. Bedazzled Jewelry Trays
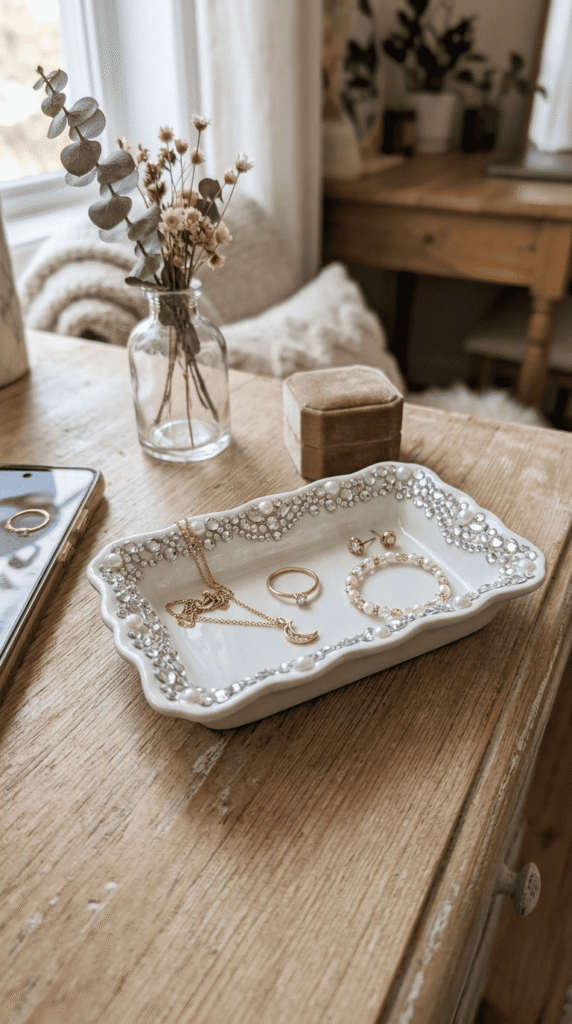
Plain ceramic or wooden trays get a real glow-up here, and unlike some of these projects, it’s actually useful once you’re done.
Stick to the outer rim so the inside stays smooth for actually holding rings and earrings. This one also makes a genuinely good gift. Feels a lot more personal than something store bought, even though it takes maybe twenty minutes start to finish.
9. Sparkle Candle Holders
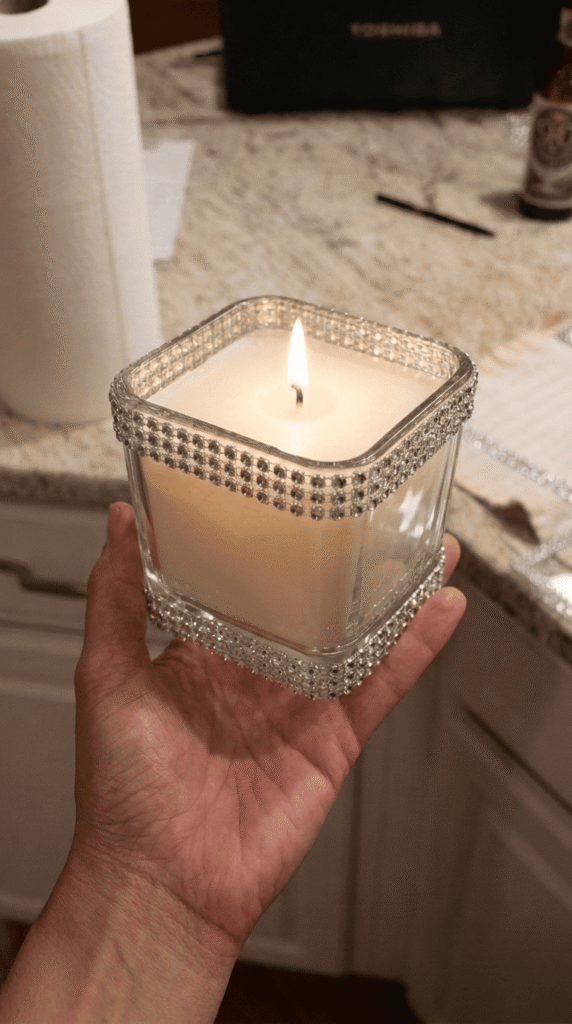
A good way to give old glass candle holders a second life instead of tossing them.
Wrap a ring near the base or the top rim, keep it away from where the flame will actually sit.
Clear or iridescent stones catch candlelight in a way that colored stones just don’t, subtle sparkle instead of full glam.
10. Bedazzled Drawer Knobs
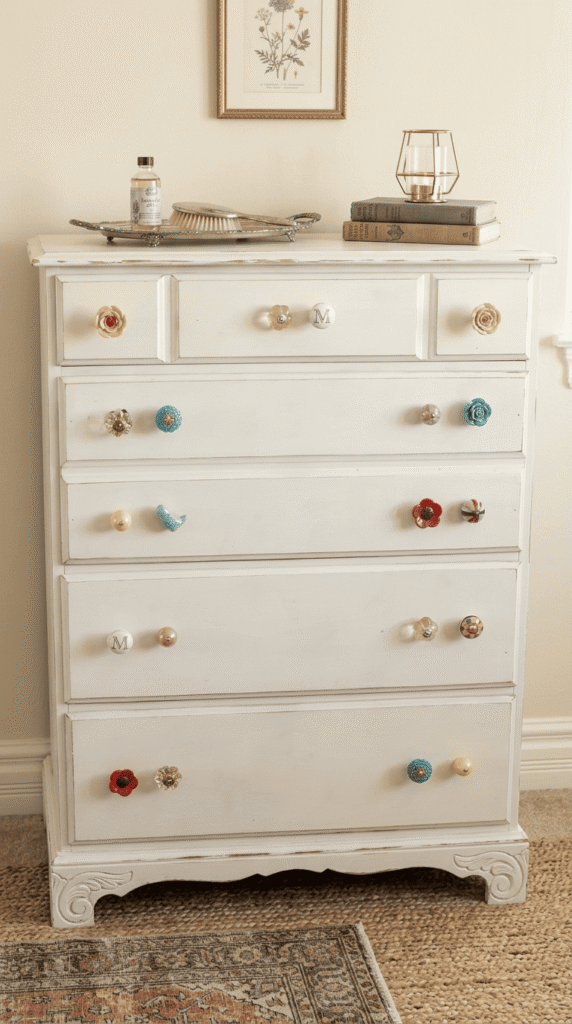
Small project, disproportionately big impact. This might be the fastest way to update a dresser without touching a paintbrush.
Round or square knobs give you the most even surface to work with. Full coverage for a bold look, or just a few accent stones if you want something more low key. I did four knobs in about fifteen minutes and it changed the whole dresser.
11. Rhinestone Coasters
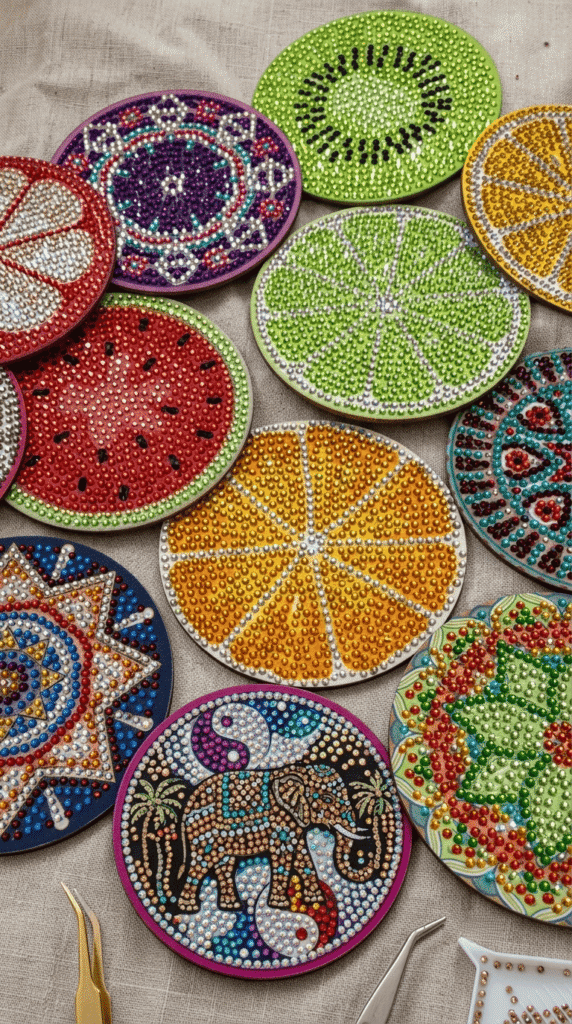
Functional and cute. My favorite combination in basically any craft project.
Pick coasters with a slightly raised edge so the rhinestones don’t end up directly under your cup. A border design keeps them practical while still adding that little detail every time you set a drink down.
12. Bling Tissue Box Cover
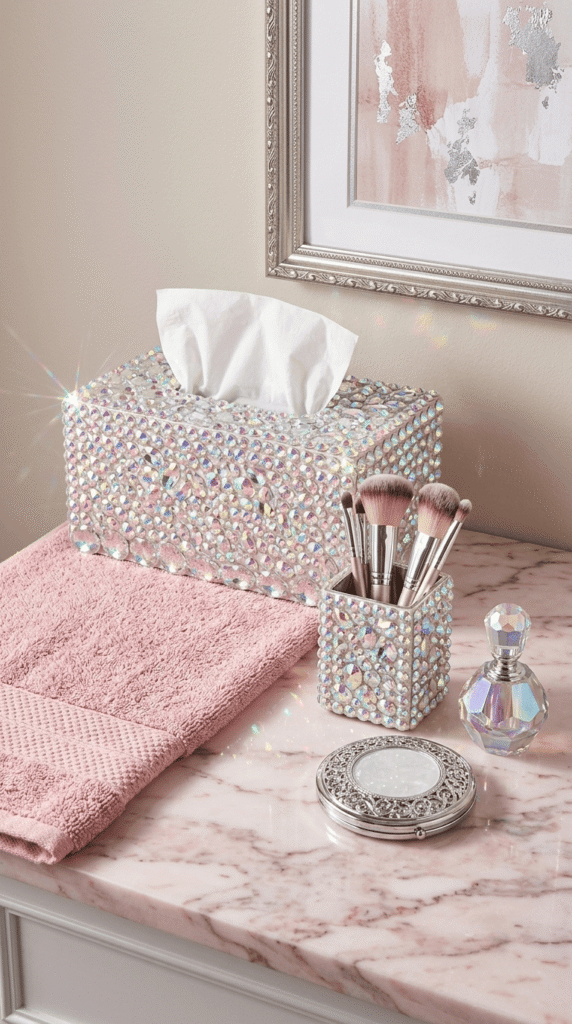
An easy way to dress up an object nobody ever thinks about twice.
A flat fabric or wooden cover is easiest to work with. Corners and edges first, fill in from there. It’s a small thing, but it’s one of those details you notice every single time you walk past it.
13. Rhinestone Jewelry Box
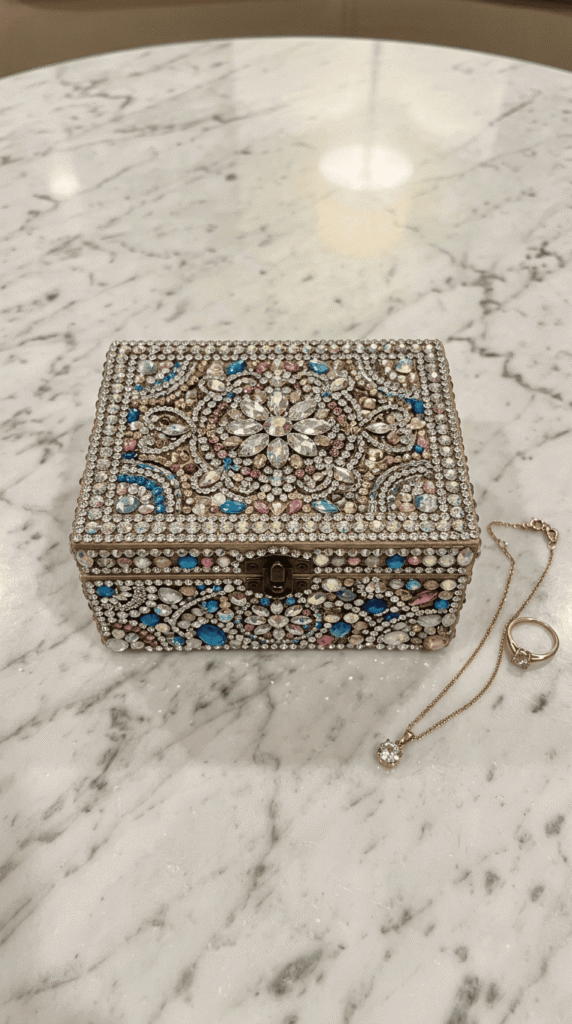
This one ends up feeling like a real keepsake once it’s finished, not just a craft project.
Plain wooden boxes from the craft store work great. Do one panel at a time and let it dry before moving to the next, especially if you’re covering both the lid and the sides. Rushing this one is where mistakes happen.
14. Sparkle Curtain Tiebacks
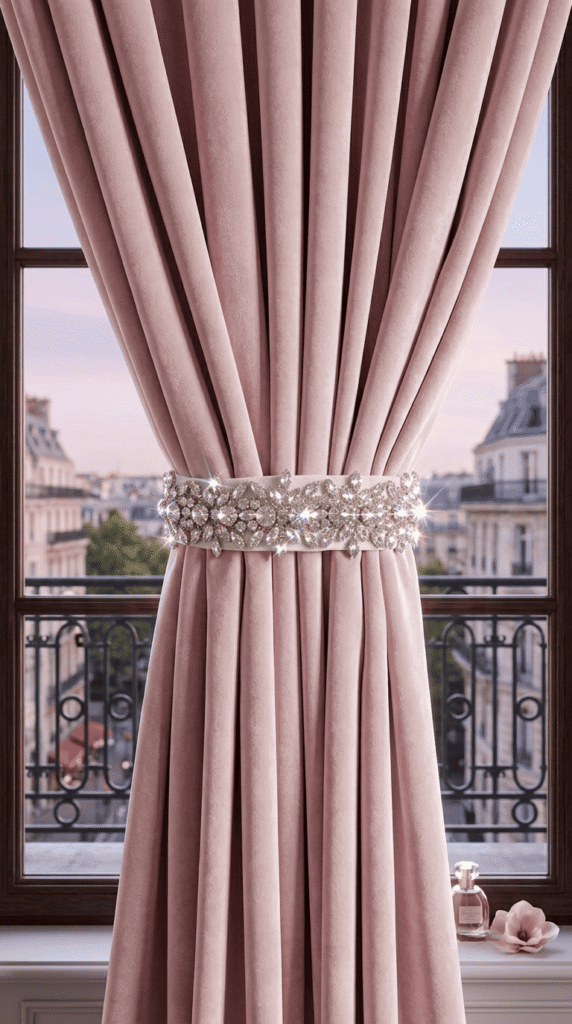
A small detail that somehow makes the entire window look more finished.
Fabric or rope tiebacks both work fine, just stick with a flexible glue so the stones don’t crack when the tieback bends around the curtain.
This is a five minute project that somehow gets the most compliments of anything on this list.
15. Bedazzled Keepsake Boxes
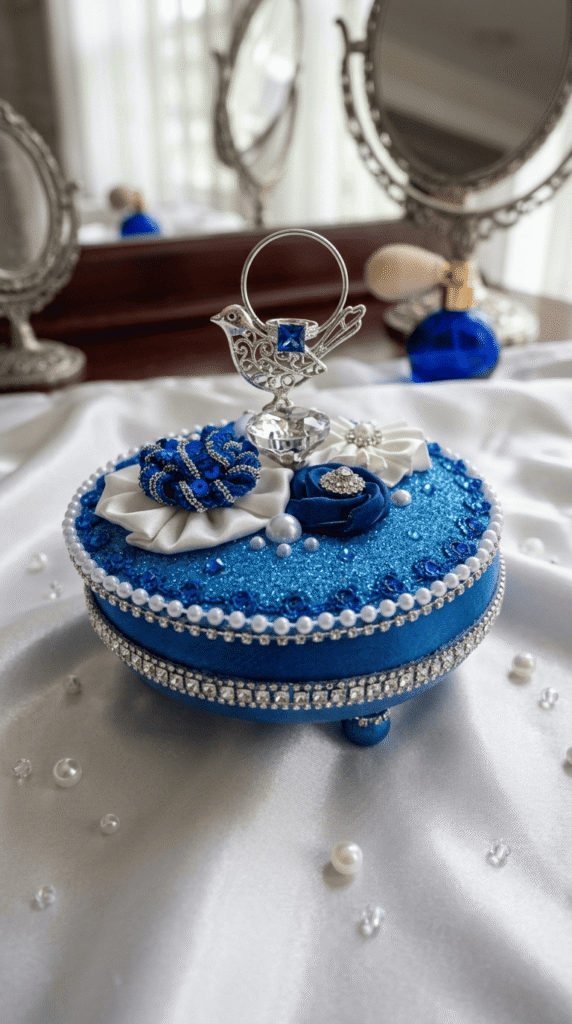
Saving this one for last because it’s basically a blank canvas for everything you’ve picked up along the way.
Mixed sizes, clusters, a border, whatever combination feels like you at this point.
By project fifteen you’ll have a pretty good sense of what you like. These also make really solid handmade gifts if you’re the type who struggles with gift ideas (me, always).